Simple Steps to Prevent Plumbing Leaks at Home

water leak

Plumbing leaks are a common but preventable issue that can cause significant damage to your home if left unchecked. By taking proactive steps, you can protect your home from the potential mess and cost associated with leaking pipes. Implementing regular maintenance and mindful practices can go a long way in keeping your plumbing system in top shape.

Leaks in your plumbing system often start small but can quickly escalate into bigger problems if unnoticed. A tiny drip can waste gallons of water over time, leading to higher utility bills and water damage to your property. Regular checks and maintenance can catch these minor issues before they escalate.

Besides saving money, preventing plumbing leaks also ensures that your home stays safe and dry. Water damage can affect the structural integrity of your house and create an environment for mold to grow. This article will guide you through practical steps to keep your plumbing system leak-free, from regular inspections to maintaining the right water pressure and insulating pipes. By following these tips, you can save yourself from the headache and expense of major plumbing repairs down the line.

Regularly Inspect Your Plumbing System

One of the most effective ways to prevent plumbing leaks is through regular inspections of your plumbing system. By taking a little time each month, you can catch potential problems early before they become serious issues. Here are some steps to guide your inspections:

1. Check Visible Pipes: Look under sinks, in the basement, and around appliances like washing machines and dishwashers. Be on the lookout for any signs of moisture, water stains, or rust on pipes that could indicate a leak.

2. Listen for Drips: Sometimes, you can hear a plumbing leak before you see any evidence of it. Make it a habit to listen for dripping sounds in your home, especially at night when the house is quieter.

3. Inspect Faucets and Showerheads: Examine all faucets and showerheads closely. A slow drip can waste a significant amount of water over time and may indicate issues with the fixture or the connectors.

4. Monitor Your Water Bill: An unexpected increase in your water bill can be a sign of a hidden leak. Keep track of your bills and investigate any unusual spikes in water usage.

5. Test Your Toilets: Toilets can be a common source of hidden leaks. Add a few drops of food coloring to the tank and wait 15 minutes without flushing. If you see the color in the bowl, your toilet has a leak.

By conducting regular inspections, you can maintain a watchful eye on your home’s plumbing and address any issues promptly, preventing small leaks from becoming big problems.

Maintain Proper Water Pressure

Maintaining proper water pressure is essential for keeping your plumbing system in good shape and preventing leaks. High water pressure puts undue stress on pipes, fixtures, and appliances, which can lead to leaks over time. Here are some ways to manage and maintain the correct water pressure in your home:

1. Install a Pressure Regulator: A pressure regulator can help maintain stable water pressure throughout your home. If you don’t already have one, consider having a professional install it to keep the pressure within safe limits.

2. Use a Pressure Gauge: Purchase an inexpensive pressure gauge from a hardware store to check your home’s water pressure. Attach it to an outdoor faucet to get a reading. Ideal water pressure should be between 40-60 psi. If it’s consistently higher, you may need to adjust the pressure regulator.

3. Check for Pressure Surges: Pressure surges can occur and cause dramatic rises in pressure. If you notice sudden bursts of high pressure, it might be due to issues like malfunctioning pressure regulators or municipal supply problems. Address such surges promptly to protect your plumbing system.

4. Reduce the Use of Water-Heavy Appliances: Running multiple water-heavy appliances (like washing machines and dishwashers) simultaneously can spike water pressure. Stagger their use to avoid stressing the pipes.

5. Inspect for Mineral Buildup: High water pressure can sometimes be the result of mineral buildup in pipes and fixtures. Regularly check and clean your plumbing fixtures to ensure uninterrupted water flow and pressure.

By keeping your water pressure in check, you can extend the life of your plumbing and prevent the wear and tear that leads to leaks. Maintaining proper pressure is a proactive step toward a leak-free home.

Avoid Using Chemical Drain Cleaners

Using chemical drain cleaners may seem like an easy way to clear clogs, but these products can do more harm than good. The harsh chemicals can corrode your pipes, leading to leaks and potentially severe damage over time. Here are better alternatives for keeping your drains clear:

1. Use a Plunger: A simple plunger can often clear minor clogs in sinks, tubs, and toilets. This method is safe and doesn’t involve harmful chemicals.

2. Try a Drain Snake: Also known as a plumber’s auger, a drain snake is a tool designed to clear blockages deep in the drain. It’s highly effective for tougher clogs and doesn’t damage pipes.

3. Homemade Solutions: A mixture of baking soda and vinegar can be an effective natural drain cleaner. Pour baking soda into the drain, followed by vinegar, and let it sit for 15 minutes before flushing with hot water. This method helps break down clogs without harming your pipes.

4. Preventive Measures: To avoid clogs in the first place, use drain screens to catch hair and food particles. Also, avoid pouring grease or oil down the drain, as these substances can solidify and cause blockages.

By opting for safer alternatives and maintaining good habits, you can keep your drains clear without risking damage to your plumbing system.

Insulate Pipes During Cold Weather

Insulating your pipes during cold weather is crucial for preventing them from freezing and eventually bursting. Burst pipes can lead to significant water damage and costly repairs. Here are some steps to insulate pipes effectively:

1. Identify Vulnerable Pipes: Pipes that are exposed to the outdoors, such as those in basements, attics, garages, and exterior walls, are more susceptible to freezing. Start by inspecting these areas for uninsulated pipes.

2. Use Pipe Insulation: Foam pipe insulation is a cost-effective and easy-to-install solution. Measure the length of the pipes and cut the insulation to fit. Wrap it around the pipes, securing with adhesive or tape. Ensure there are no gaps where cold air can come into contact with the pipes.

3. Seal Cracks and Gaps: Check for cracks or openings in walls, floors, and ceilings near the pipes. Use caulk or spray foam insulation to seal these gaps, minimizing cold air entry.

4. Keep a Consistent Temperature: During extremely cold weather, keep your home thermostat at a steady temperature, even at night. This helps prevent temperature fluctuations that can cause pipes to freeze.

5. Let Faucets Drip: During severe cold spells, allow faucets to drip slightly. Moving water is less likely to freeze and can prevent pressure build-up that leads to burst pipes.

Proper insulation and preventive measures can keep your pipes safe during the winter, reducing the risk of leaks and water damage.

Final Thoughts

Preventing plumbing leaks at home is simpler than you might think. By regularly inspecting your plumbing system, maintaining proper water pressure, avoiding harmful chemical drain cleaners, and insulating pipes during cold weather, you can protect your home from costly and damaging leaks. These proactive measures help ensure the safety and efficiency of your plumbing system, giving you peace of mind.

Taking a few minutes each month to check your plumbing, controlling water pressure, and using safe practices for clearing drains will pay off in the long run. Keeping your pipes insulated during the winter is particularly important for homes in cold climates.

By following these simple steps, you can save on repair costs and avoid the hassle of dealing with plumbing emergencies. Consider scheduling a professional inspection and HVAC maintenance service to ensure your plumbing system is in top condition.

If you need expert assistance with your plumbing, HVAC, or other household needs, contact My Jockey today. Our experienced professionals are here to help with all your home service needs. Protect your home and enjoy peace of mind with My Jockey. Call us now to schedule an appointment!

The Best Air Conditioners for Cooling Large Spaces

commercial ac

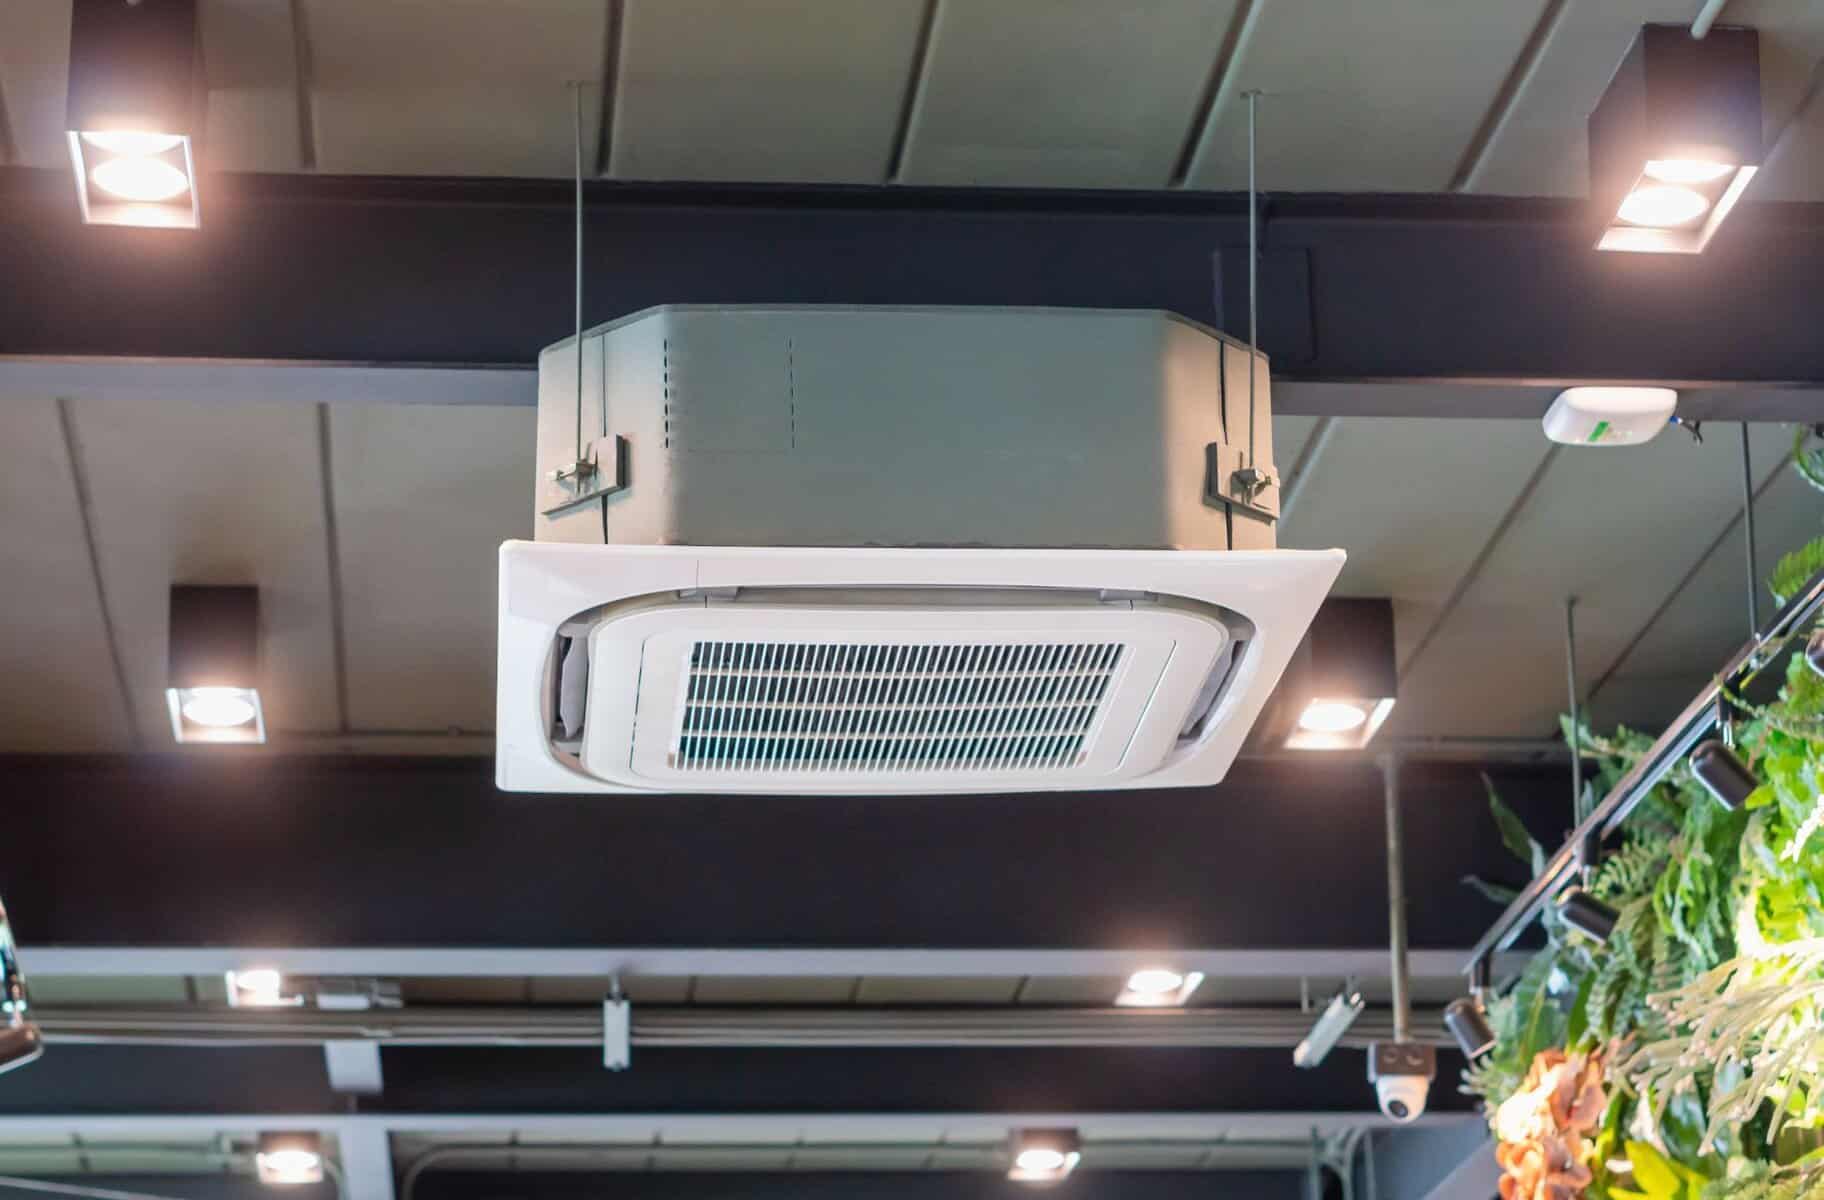
Cooling large spaces can be a challenge, but choosing the right air conditioner can make all the difference. When dealing with expansive areas, the effectiveness and efficiency of your cooling system are crucial. Whether it’s a large living room, an open floor plan, or an office space, knowing which air conditioner to select ensures you stay comfortable during the hot months.

Several factors come into play when selecting an air conditioner for a large space. You need to consider the unit’s power, measured in BTUs (British Thermal Units), to ensure it can handle the room size. Additionally, features like energy efficiency, ease of installation, and long-term operating costs are essential to making a smart investment. By focusing on these aspects, you can find an air conditioner that not only cools your large space effectively but also operates efficiently and cost-effectively.

Choosing between central air conditioning systems and ductless mini-split systems also depends on your specific needs and the layout of your space. Central systems are often ideal for whole-home cooling, while ductless mini-splits are great for targeted areas and flexibility in installation. Each type has its benefits and drawbacks, so understanding their features can help you make the best choice for your home or office.

Key Features to Look for in Air Conditioners for Large Spaces

When choosing an air conditioner for large spaces, it’s important to consider specific features that ensure efficient cooling and comfort. Here are some key features to look out for:

1. Cooling Capacity: The cooling capacity of an air conditioner is measured in BTUs (British Thermal Units). For large spaces, you need a unit with a high BTU rating to effectively cool the area. As a rule of thumb, you’ll need around 20 BTUs per square foot of space.

2. Airflow Volume: Look for air conditioners with high airflow rates, typically measured in CFM (cubic feet per minute). Higher airflow means the unit can circulate and cool air more effectively throughout the space.

3. Multi-Zone Capabilities: For large or multi-room spaces, consider air conditioning systems that offer multi-zone capabilities. This allows you to control the temperature in different areas independently, providing more customized comfort and energy efficiency.

4. Energy Efficiency: Ensure the unit has a high SEER (Seasonal Energy Efficiency Ratio) rating. Higher SEER ratings indicate better energy efficiency, which can save you money on utility bills while reducing your carbon footprint.

5. Noise Levels: Large space air conditioners can be noisy. Check the decibel (dB) rating of the unit to ensure it operates quietly, especially if it’s for a living room or office.

6. Smart Features: Modern air conditioners come with smart features like Wi-Fi connectivity, remote controls, and programmable thermostats. These features can make it easier to manage and optimize your air conditioning system for maximum comfort and efficiency.

Top Central Air Conditioning Systems

Central air conditioning systems are ideal for maintaining comfortable temperatures in large homes or buildings. Here are some top central air conditioning systems to consider:

1. Carrier Infinity Series: Known for its reliability and efficiency, the Carrier Infinity Series offers units with high SEER ratings, ensuring energy savings. The system also has advanced features like a two-stage compressor, which provides more consistent cooling and reduced noise levels.

2. Trane XV20i: The Trane XV20i is one of the most efficient central air conditioners available, with SEER ratings up to 22. It features a variable-speed compressor that adjusts cooling output to match your home’s needs. This results in excellent humidity control and lower energy consumption.

3. Lennox XC25: The Lennox XC25 has a SEER rating of up to 26, making it one of the most energy-efficient systems on the market. Its Precise Comfort® technology allows for variable-speed operation, providing precise temperature control and quiet performance.

4. Rheem Prestige Series: The Rheem Prestige Series offers a solid balance of efficiency and affordability. With SEER ratings up to 20, it features a two-stage compressor for improved comfort and humidity control, along with EcoNet® enabled modulating control for smart home integration.

5. American Standard Platinum Series: Known for its durability and performance, the American Standard Platinum Series offers SEER ratings up to 22. It includes features like AccuLink™ communication technology for intuitive control and diagnostics, as well as a variable-speed compressor for optimal efficiency and comfort.

These central air conditioning systems can provide effective and efficient cooling for large spaces, making them worthwhile investments for maintaining a comfortable home environment.

Best Ductless Mini-Split Air Conditioners

Ductless mini-split air conditioners are a great option for cooling large spaces without the need for ductwork. They offer flexibility, efficiency, and quiet operation. Here are some of the best ductless mini-split air conditioners available:

1. Mitsubishi Electric M-Series: Known for their reliability and efficiency, Mitsubishi Electric M-Series units offer a wide range of models suitable for various room sizes. These units have a high SEER rating and an HSPF (Heating Seasonal Performance Factor), making them efficient in both cooling and heating. The system also features i-see Sensor™ technology, which detects temperature variations and adjusts accordingly for optimal comfort.

2. Daikin Aurora Series: The Daikin Aurora Series is designed to perform efficiently even in extreme temperatures, making it a great choice for both heating and cooling large spaces. With SEER ratings up to 26.1 and HSPF ratings up to 13, it offers exceptional energy efficiency. The system also includes features like variable-speed compressors and intelligent eye sensors that detect motion and adjust settings accordingly.

3. LG Art Cool Gallery: The LG Art Cool Gallery series not only provides efficient cooling but also adds a stylish element to your space. The unit features a customizable front panel where you can display artwork or photos. It has a high SEER rating and offers whisper-quiet operation, making it ideal for bedrooms or living rooms.

4. Fujitsu Halcyon XLTH Series: Fujitsu’s Halcyon XLTH Series is known for its high efficiency and powerful performance. These units feature inverter technology, which helps in maintaining a consistent temperature without frequent cycling. They also have excellent heating capabilities, making them a versatile choice for year-round comfort.

5. Pioneer WYS Series: The Pioneer WYS Series offers a cost-effective solution without compromising on performance. With SEER ratings up to 22.5 and a compact design, these units are easy to install and maintain. They also come with flexible installation options, allowing you to place the indoor units virtually anywhere in the room.

Energy Efficiency and Cost Considerations

When choosing an air conditioner for large spaces, energy efficiency and cost are crucial factors to consider. Efficient units save you money on energy bills and reduce your environmental impact.

1. SEER and EER Ratings: Look for units with high SEER (Seasonal Energy Efficiency Ratio) and EER (Energy Efficiency Ratio) ratings. Higher ratings mean better energy efficiency. A unit with a SEER rating of 20, for example, is more efficient than one with a SEER rating of 13. Over time, the energy savings can offset the higher upfront cost of a more efficient system.

2. Energy Star Certification: Choose air conditioners that are Energy Star certified. This certification means the unit meets strict energy efficiency guidelines set by the U.S. Environmental Protection Agency. Energy Star models can significantly reduce energy consumption and lower your utility bills.

3. Initial Cost vs. Long-Term Savings: While it might be tempting to go for a cheaper unit, consider the long-term savings of an energy-efficient model. A unit with a higher initial cost but better efficiency can save you more money in the long run. Factor in both the purchase price and the operational cost when making your decision.

4. Inverter Technology: Inverter technology allows the air conditioner to adjust its speed and cooling output according to the room’s requirements. This leads to more consistent temperatures and reduces energy consumption compared to traditional fixed-speed units.

5. Smart Thermostats and Controls: Invest in a smart thermostat that can be programmed to adjust temperatures based on your schedule. Some smart thermostats learn your habits and optimize settings automatically. This helps in reducing energy usage when the cooling isn’t needed, translating to lower energy bills.

Final Thoughts

Investing in the right air conditioner for your large space ensures comfort and efficiency. From central air systems to ductless mini-splits, understanding the key features and energy considerations helps you make a well-informed decision. Not only will this improve your living conditions, but it will also save you money in the long run.

If you need assistance in selecting or installing an air conditioning system, My Jockey is here to help. Our team of experts can provide personalized recommendations and professional services to meet your cooling needs. Contact My Jockey today to schedule a consultation and find the perfect air conditioning solution for your home or business.

When to Get a New Water Heater

Water Heater

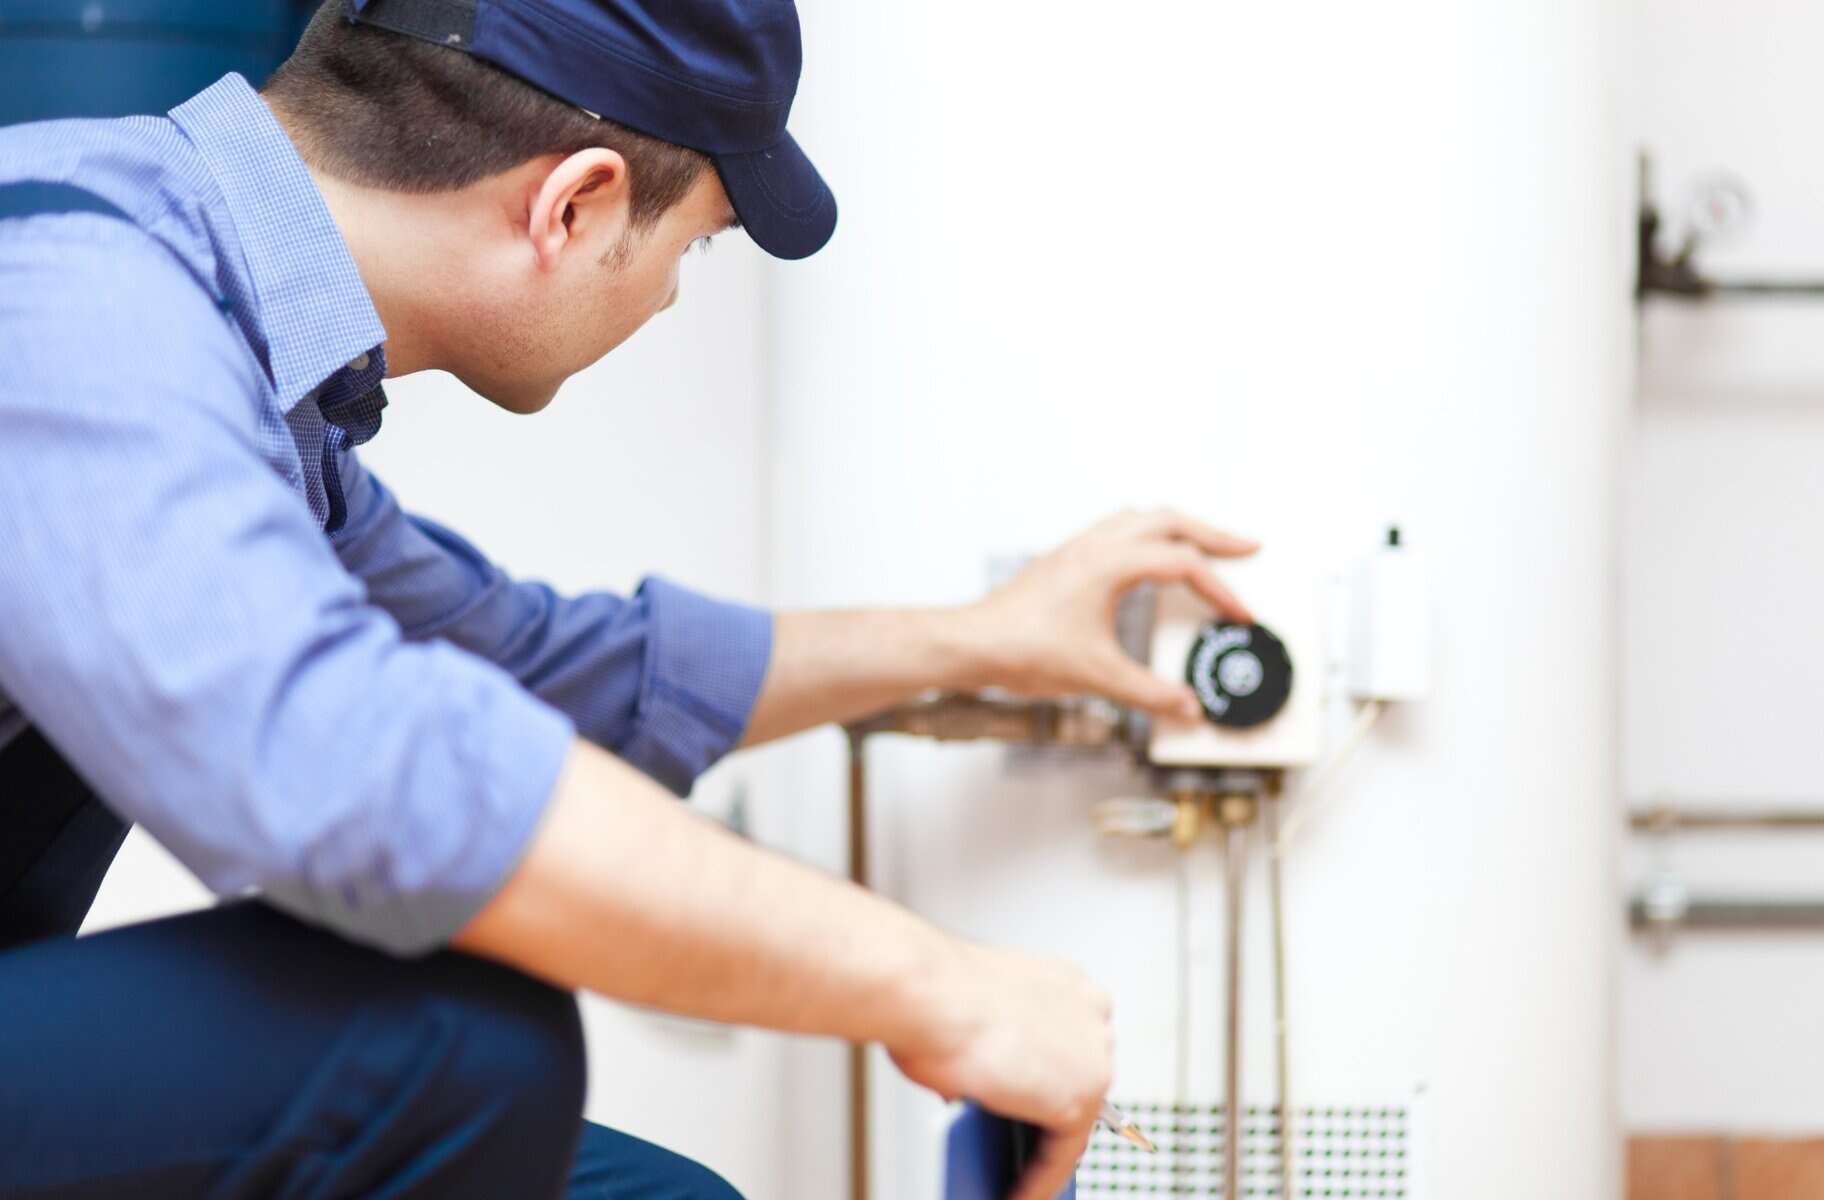
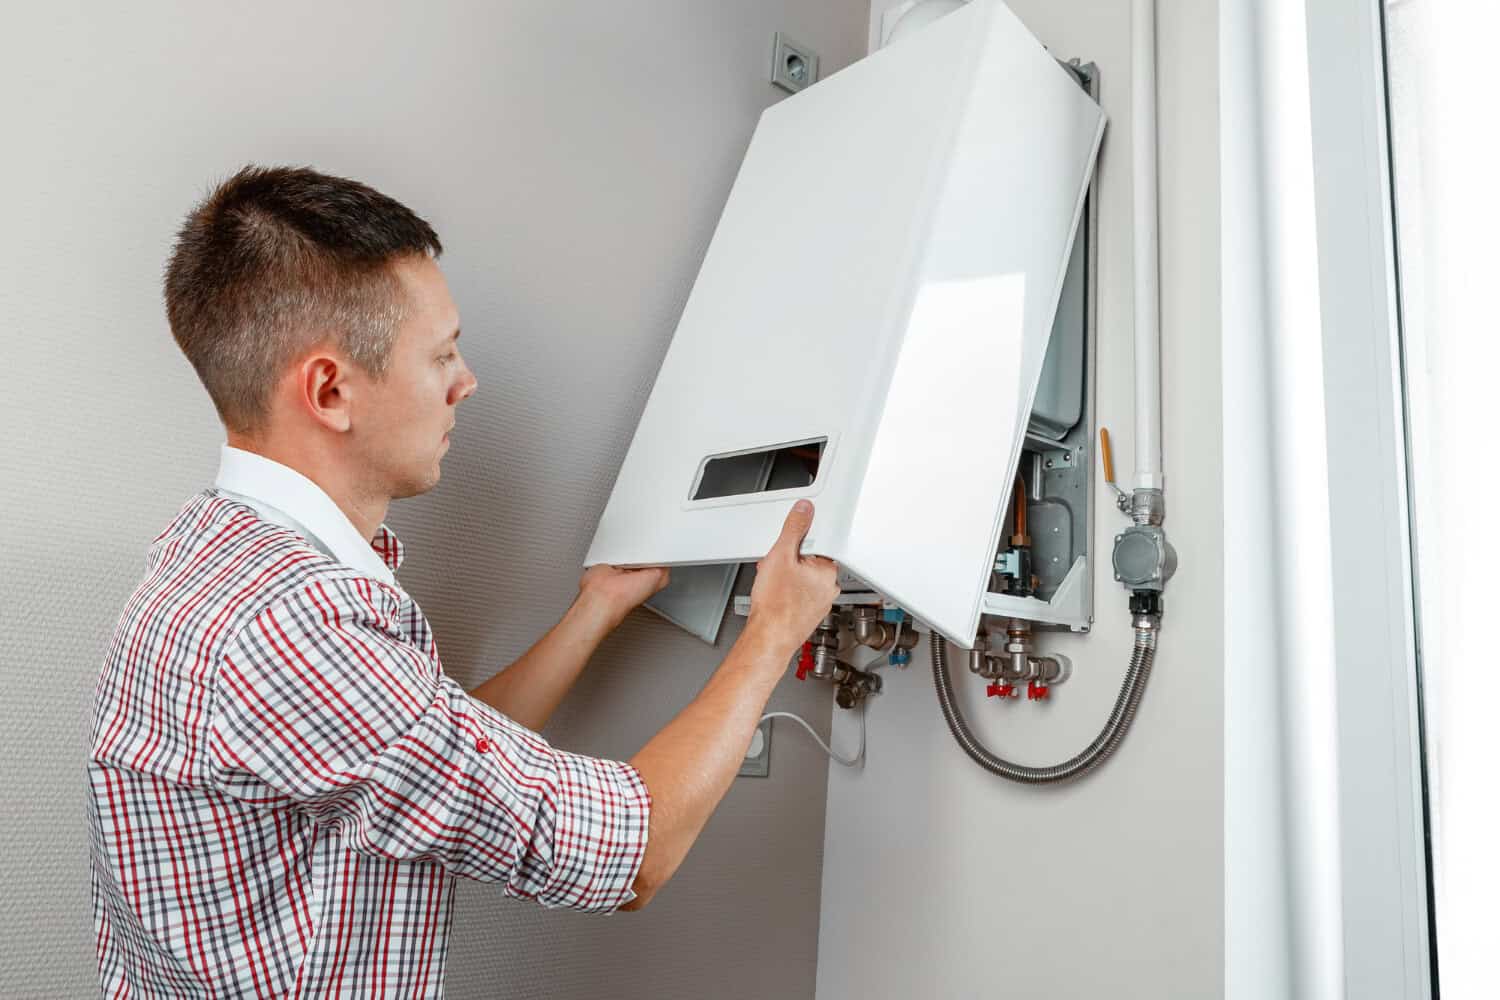
A reliable water heater is essential for a comfortable home, especially during cold months. Hot water is needed every day for tasks like showering, cleaning, and washing dishes. But just like any appliance, water heaters have a lifespan and can start to fail over time.

Knowing when to replace your water heater can save you from unexpected cold showers and costly emergency repairs. If it’s been providing hot water for over a decade, it’s important to pay attention to signs that it might be reaching the end of its life. Strange noises, inconsistent temperatures, and rusty water are just a few indicators that it might be time for a new water heater.

Upgrading to a new water heater doesn’t just solve problems, it also offers benefits like improved efficiency and reduced energy bills. New models are designed to be more eco-friendly and can provide more consistent hot water. Choosing the right type for your home involves considering factors like size, fuel type, and energy efficiency.

In the following sections, we’ll discuss how to spot the signs of a failing water heater, the advantages of upgrading, tips for choosing the best model, and the importance of professional installation and maintenance.

Signs Your Water Heater Is Failing

It’s important to recognize the signs that your water heater is failing. Catching these issues early can help you avoid a sudden breakdown. Here are some common signs to watch out for:

1. Inconsistent Hot Water: One of the first signs is fluctuating water temperature. If your showers are hot one day and lukewarm the next, there might be an issue with the heating element.

2. Strange Noises: Popping, rumbling, or banging sounds coming from the water heater are not normal. These noises are often caused by sediment build-up at the bottom of the tank.

3. Rusty Water: If you notice rusty or discolored water when you turn on the hot tap, it could mean that the inside of your tank is rusting, which indicates that a replacement is needed soon.

4. Water Leaks: Leaks around your water heater are a clear sign of trouble. Even small leaks can turn into big problems, leading to water damage in your home.

5. Age of the Unit: Water heaters usually last about 10-15 years. If your unit is in this age range or older, it’s a good idea to start thinking about a replacement before you experience a failure.

The Benefits of Upgrading to a New Water Heater

Upgrading to a new water heater brings several benefits that go beyond just having hot water. Here’s why you should consider making the switch:

1. Energy Efficiency: Newer water heaters are much more energy-efficient compared to older models. This means you’ll use less energy to heat water, which can lower your utility bills. Look for ENERGY STAR-rated models for the best efficiency.

2. Reliable Hot Water Supply: A new water heater ensures a consistent and reliable supply of hot water. You won’t have to deal with cold showers or interrupted hot water during household chores.

3. Advanced Features: Modern water heaters come with advanced features like digital displays, smart controls, and even eco-friendly settings. These features can make using your water heater easier and more convenient.

4. Reduced Maintenance: New water heaters are designed to require less maintenance. They often come with better warranties, meaning you’ll have peace of mind knowing your investment is protected.

5. Compact and Space-Saving: Tankless water heaters and newer tank models are often more compact, freeing up space in your home. This can be especially beneficial in homes with limited space.

Investing in a new water heater can provide long-term savings, improved performance, and added convenience. If your current water heater is showing signs of age or inconsistency, considering an upgrade may be the best move for your home.

Choosing the Right Water Heater for Your Home

Picking the right water heater for your home is essential. Here are some factors to help guide your decision:

1. Type: There are different types of water heaters, including tankless, traditional tank, and hybrid models. Tankless water heaters provide hot water on demand and save space. Traditional tank heaters store a large volume of water, while hybrid models combine features of both.

2. Size: The size of the water heater should match your household’s hot water needs. A small tank won’t suffice for a large family, and an oversized tank will waste energy.

3. Fuel Source: Water heaters can run on electricity, natural gas, propane, or even solar power. Choose a fuel source that’s readily available and cost-effective in your area.

4. Energy Efficiency: Look for units with high energy efficiency ratings. ENERGY STAR-rated models can save you money on energy bills in the long run.

5. Cost: Consider both the upfront cost and long-term operating costs. Sometimes, spending more initially on an efficient model can save more money over time.

6. Warranty: A good warranty offers peace of mind. Check the warranty terms before making a purchase.

7. Installation Requirements: Some water heaters may require specific installation conditions. Make sure your home can accommodate the unit you choose.

Professional Installation and Maintenance Tips

Having your water heater professionally installed is important for ensuring it works correctly and safely. Here are some tips for a smooth installation process:

1. Hire a Professional: Always hire a qualified plumber for installation. They have the expertise to install the unit correctly and can ensure it meets all local building codes and regulations.

2. Proper Ventilation: Ensure that gas-powered water heaters have proper ventilation to avoid dangerous gas buildup. This is crucial for maintaining safety in your home.

3. Water Softener: If you have hard water, consider installing a water softener. Hard water can cause limescale buildup in your water heater, reducing its efficiency and lifespan.

4. Regular Maintenance: Schedule regular maintenance to keep your water heater running efficiently. Drain and flush the tank annually to remove sediment and check the anode rod to prevent corrosion.

5. Monitor for Issues: Keep an eye out for common issues like leaks or fluctuating water temperatures. Addressing these problems early can prevent more significant issues and extend the life of your water heater.

Final Thoughts

Knowing when to replace your water heater can save you from unexpected cold showers and costly repairs. Recognizing the signs of a failing water heater, understanding the benefits of upgrading, and choosing the right model for your needs are all crucial steps. Professional installation and regular maintenance will ensure your new water heater operates efficiently and lasts longer.

If you’re experiencing issues with your current water heater or thinking about an upgrade, it might be time to take action. Consult professionals to help you make the best choice for your home’s needs. For expert assistance with your water heater installation and maintenance, contact My Jockey. Our team is dedicated to helping you keep your home comfortable and your water hot.

Why Regular HVAC Checkups Are Important

HVAC maintenance

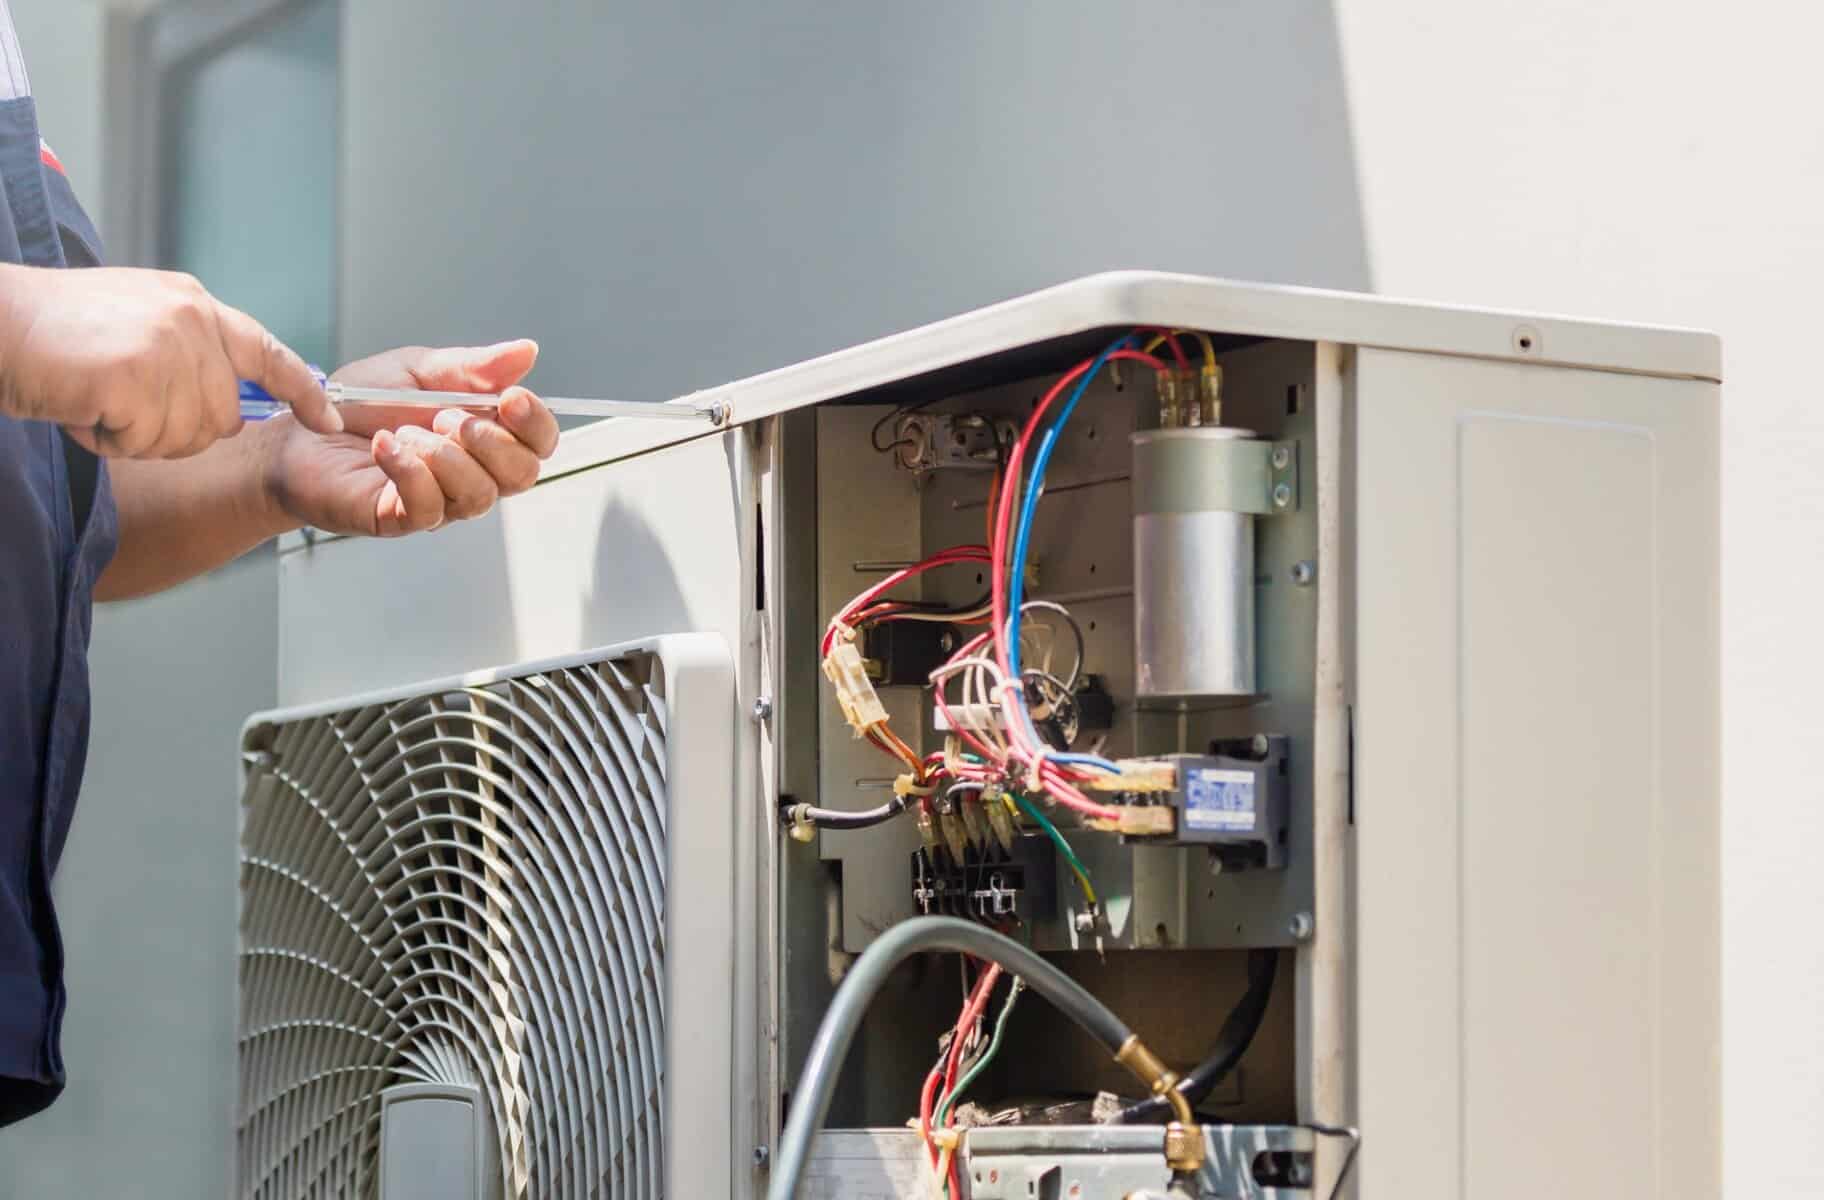
Regular HVAC checkups are something every homeowner should prioritize. Your heating and cooling system works hard all year long to keep your home comfortable, and just like any other machine, it needs regular maintenance to perform its best. Skipping these checkups might save you time in the short run, but it can lead to bigger problems—and bigger bills—down the road.

One of the main benefits of regular HVAC checkups is improved energy efficiency. When your system is running efficiently, it uses less energy, which not only saves you money on your utility bills but also reduces your carbon footprint. It’s a win-win situation!

Another critical reason for consistent HVAC maintenance is extending the lifespan of your equipment. Regular checkups help to catch and fix minor issues before they turn into major problems, keeping your system running smoothly for many years to come. Plus, fixing small problems now can prevent costly repairs later on.

We’ll dive into these topics in more detail and explain how regular HVAC checkups can not only save you money but also improve the air quality in your home. Investing a little time in regular maintenance can make a big difference in the long run.

Improves Energy Efficiency

One of the biggest benefits of regular HVAC checkups is improved energy efficiency. When your system is running efficiently, it uses less power to cool or heat your home. This saves you money on energy bills and reduces strain on the environment. Think of your HVAC system like a car: it needs regular tune-ups to run smoothly and avoid wasting fuel.

During a checkup, technicians inspect and clean various components of your system. Dust, dirt, and debris can accumulate in the ducts and filters, making the HVAC unit work harder to push air through your home. Cleaning these out can significantly improve airflow and efficiency. Technicians also check for any parts that may be worn out or need lubricating. A well-maintained system often requires less energy to operate, leading to lower utility bills.

Another key aspect of energy efficiency is ensuring that your thermostat is calibrated correctly. A poorly calibrated thermostat can cause your system to work overtime, heating or cooling your home when it’s not necessary. Regular checkups help verify that everything is set up correctly, allowing for precise temperature control and efficient operation.

Extends Equipment Lifespan

Regular HVAC checkups are essential for extending the lifespan of your system. Just like how routine maintenance can help a car last longer, regular HVAC maintenance can keep your heating and cooling system running smoothly for many years. This routine attention helps identify minor issues before they turn into major, costly repairs.

One of the main tasks during a checkup is inspecting and tightening electrical connections. Loose or corroded connections can cause parts of your system to overheat and fail prematurely. Technicians also check the condition of the belts and pulleys, which can wear down over time and put extra strain on the motor. By catching these issues early, you avoid unnecessary wear and tear on the system.

Regular checkups also include monitoring refrigerant levels and ensuring there are no leaks. Low refrigerant levels can cause the system to work harder, leading to premature failure. By keeping everything in good working order, you can rest assured that your HVAC system will continue to function well, providing you with comfort for a long time.

In summary, routine HVAC checkups help keep your system operating efficiently, reduce the risk of breakdowns, and extend the overall lifespan of your equipment. Taking the time for these regular inspections can save you a lot of money and hassle in the future.

Prevents Costly Repairs

Regular HVAC checkups can help prevent expensive repairs down the line. By catching small issues before they turn into major problems, you save money and avoid the hassle of dealing with unexpected breakdowns. Think of a checkup as a way to spot trouble early, like noticing a loose roof shingle before it causes a leak.

During a checkup, technicians inspect the entire system, looking for signs of wear and tear. They might find small issues such as a clogged drain pipe, a frayed belt, or a worn-out motor bearing. Fixing these problems early can prevent them from escalating into bigger issues. For example, a clogged drain can lead to water damage or mold if ignored, and a frayed belt can snap, causing major mechanical failures.

Regular inspection of your HVAC system ensures that every part is working as it should. This proactive approach saves you from the surprise and inconvenience of major repairs, which could be very expensive. Addressing issues early means you spend less in the long run, keeping more money in your pocket.

Enhances Indoor Air Quality

Regular HVAC checkups play a vital role in enhancing indoor air quality. When your system is clean and functioning properly, it helps filter and circulate fresh air throughout your home. This is especially important if anyone in your household has allergies or respiratory issues.

One of the main tasks during an HVAC checkup is changing or cleaning the air filters. Dirty filters can’t trap dust, pollen, and pet dander effectively, allowing these particles to circulate in your home. Clean filters can significantly reduce the presence of allergens, improving the air you breathe.

Another aspect of maintaining good air quality is checking the ductwork. Over time, dust and debris can build up in the ducts, reducing airflow and possibly introducing contaminants into the home. Technicians can clean the ducts and seal any leaks, ensuring that only clean air circulates.

Humidity levels are also crucial for indoor air quality. An HVAC system that’s not properly maintained may have trouble regulating humidity, leading to either too much moisture, which can cause mold, or too little, which can make the air dry and uncomfortable. Regular checkups keep the system balanced, providing a healthier indoor environment.

Final Thoughts

Regular HVAC checkups are essential for several reasons, including improving energy efficiency, extending equipment lifespan, preventing costly repairs, and enhancing indoor air quality. These checkups ensure that your system runs smoothly and effectively, providing comfort and safety for your home throughout the year.

Taking the time to schedule these checkups might seem like a small task, but the benefits are significant. From saving money on energy bills to avoiding major repair costs and ensuring your home’s air is clean and healthy, the advantages are clear. Regular maintenance is an investment in your home’s comfort and your family’s well-being.

For expert HVAC checkups and maintenance, trust the professionals at My Jockey. Our team in Saratoga Springs and The Capital Region, NY, is ready to help you keep your system in top shape. Contact us today to schedule your next checkup and experience the benefits of a well-maintained HVAC system!

Easy Ways to Improve Your Home’s Air Quality

air purifier

Having clean air in your home is very important for your health and well-being. Good air quality helps you breathe easier, sleep better, and can even improve your overall mood. Many things can affect the air quality in your home, like dust, pet dander, and humidity. Continue reading to know how you can easily improve the air quality in your home, creating a healthier and more comfortable living environment.

Keep Your Home Clean

Keeping your home clean is a straightforward way to improve air quality. Dust, pet dander, and other particles can build up and circulate through the air, causing respiratory issues and allergies. Regular cleaning helps remove these pollutants and keeps your home’s air fresh.

Vacuuming is one of the most effective ways to reduce dust and dirt. Use a vacuum with a HEPA filter to trap tiny particles that other vacuums might miss. Vacuum all carpets, rugs, and upholstered furniture at least once a week. Don’t forget to vacuum under beds and other furniture where dust likes to hide.

Dusting is another important step. Use a damp cloth or microfiber duster to clean surfaces like shelves, countertops, and tables. Avoid using feather dusters, as they can spread dust around instead of capturing it. Clean your home’s air vents and ceiling fans regularly to prevent dust from circulating.

Wash your bedding and curtains frequently. These items can collect dust, pet hair, and other allergens. Washing them in hot water helps kill dust mites and remove allergens. If you have pets, groom them regularly to minimize the amount of dander they release into the air.

Keeping a clean home goes a long way in ensuring the air you breathe is healthy and free from harmful particles. Regular cleaning tasks like vacuuming, dusting, and washing linens make a noticeable difference in air quality.

Use Air Purifiers

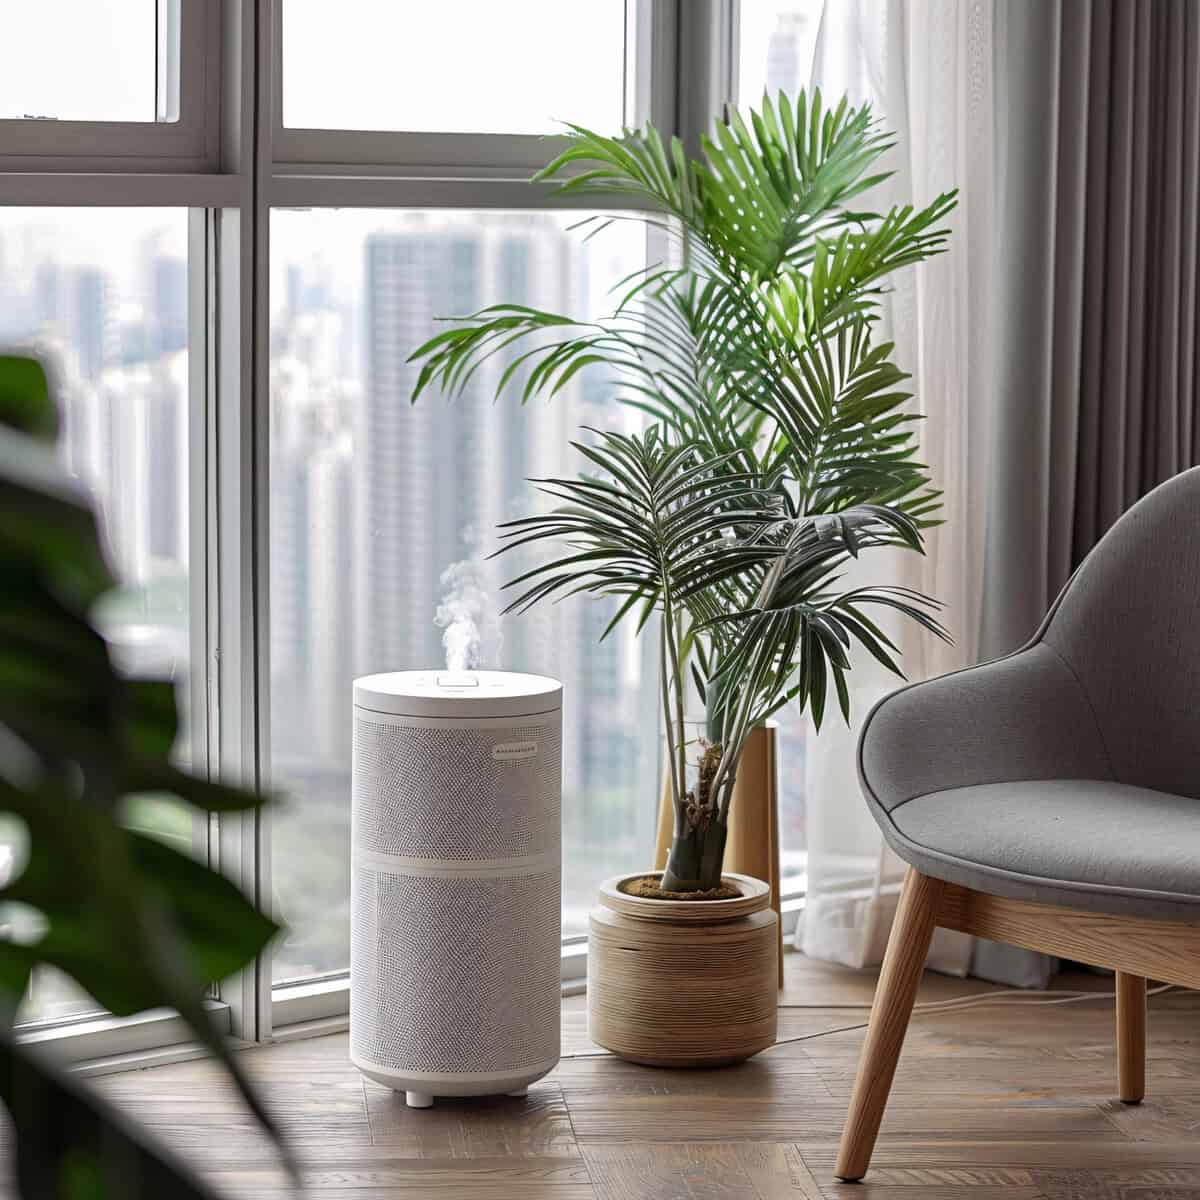
Air purifiers are a great tool for improving the air quality in your home. They work by removing pollutants like dust, pollen, and pet dander, making the air cleaner and easier to breathe. This is especially helpful for people with allergies or asthma.

1. Choosing the Right Air Purifier: There are many types of air purifiers available. Look for one with a HEPA filter, as it can capture very small particles. Some air purifiers also come with activated carbon filters that help remove odors and chemicals from the air. Select an air purifier that matches the size of the room you’ll be using it in.

2. Proper Placement: Place the air purifier in the room where you spend the most time, such as the bedroom or living room. Ensure it’s not blocked by furniture or walls, as this can limit its effectiveness. It’s a good idea to keep doors and windows closed while the purifier is running to prevent new pollutants from entering.

3. Regular Maintenance: To keep your air purifier working well, change the filters regularly—usually every 6 to 12 months, depending on the manufacturer’s recommendations. Some air purifiers have indicator lights that tell you when it’s time to replace the filter.

Improve Ventilation

Improving ventilation in your home is an effective way to enhance air quality. Proper ventilation helps remove stale air and brings in fresh air, reducing the accumulation of pollutants.

1. Open Windows and Doors: One of the simplest ways to improve ventilation is to open your windows and doors regularly. Even just a few minutes a day can make a big difference. This allows fresh air to enter and pushes out old, stale air. Make sure to do this when outdoor air quality is good to avoid bringing in pollutants.

2. Use Exhaust Fans: Exhaust fans in the kitchen and bathroom help remove moisture, odors, and pollutants at the source. Turn on the exhaust fan while cooking to get rid of smoke and cooking smells. Use the bathroom fan during and after showers to get rid of humidity and prevent mold growth.

3. Maintain Your HVAC System: Your HVAC system plays a key role in ventilating your home. Make sure to change the air filters regularly and have the system inspected by a professional. Clean air filters help the system run efficiently and keep the air in your home clean.

Control Humidity Levels

Controlling humidity levels in your home is essential for maintaining good air quality. Too much humidity can lead to mold and mildew, while too little can cause dryness and irritation.

1. Use Dehumidifiers: Dehumidifiers are handy for removing excess moisture from the air. Place them in damp areas like basements or bathrooms to keep humidity levels in check. Aim for a humidity level between 30% and 50% for the best air quality.

2. Fix Leaks and Seal Gaps: Water leaks can add unwanted moisture to your home. Check for leaks in plumbing, roofs, and windows, and repair them promptly. Sealing gaps and cracks can also help prevent humidity from creeping in.

3. Monitor Humidity with Hygrometers: Hygrometers are small devices that measure humidity in the air. Place them in different rooms to monitor humidity levels. This helps you take action before humidity levels become too high or too low.

Conclusion

Improving your home’s air quality doesn’t have to be complicated. Simple steps like keeping your home clean, using air purifiers, improving ventilation, and controlling humidity levels can make a significant impact. Good air quality is essential for your health and well-being, and taking these measures ensures you and your family breathe cleaner, fresher air.

If you need professional help with improving your home’s air quality, look no further than My Jockey. We offer expert HVAC and air purification services that can keep your home comfortable and healthy. Get in touch with us today to learn more about our services and how we can help you maintain great air quality in your home.

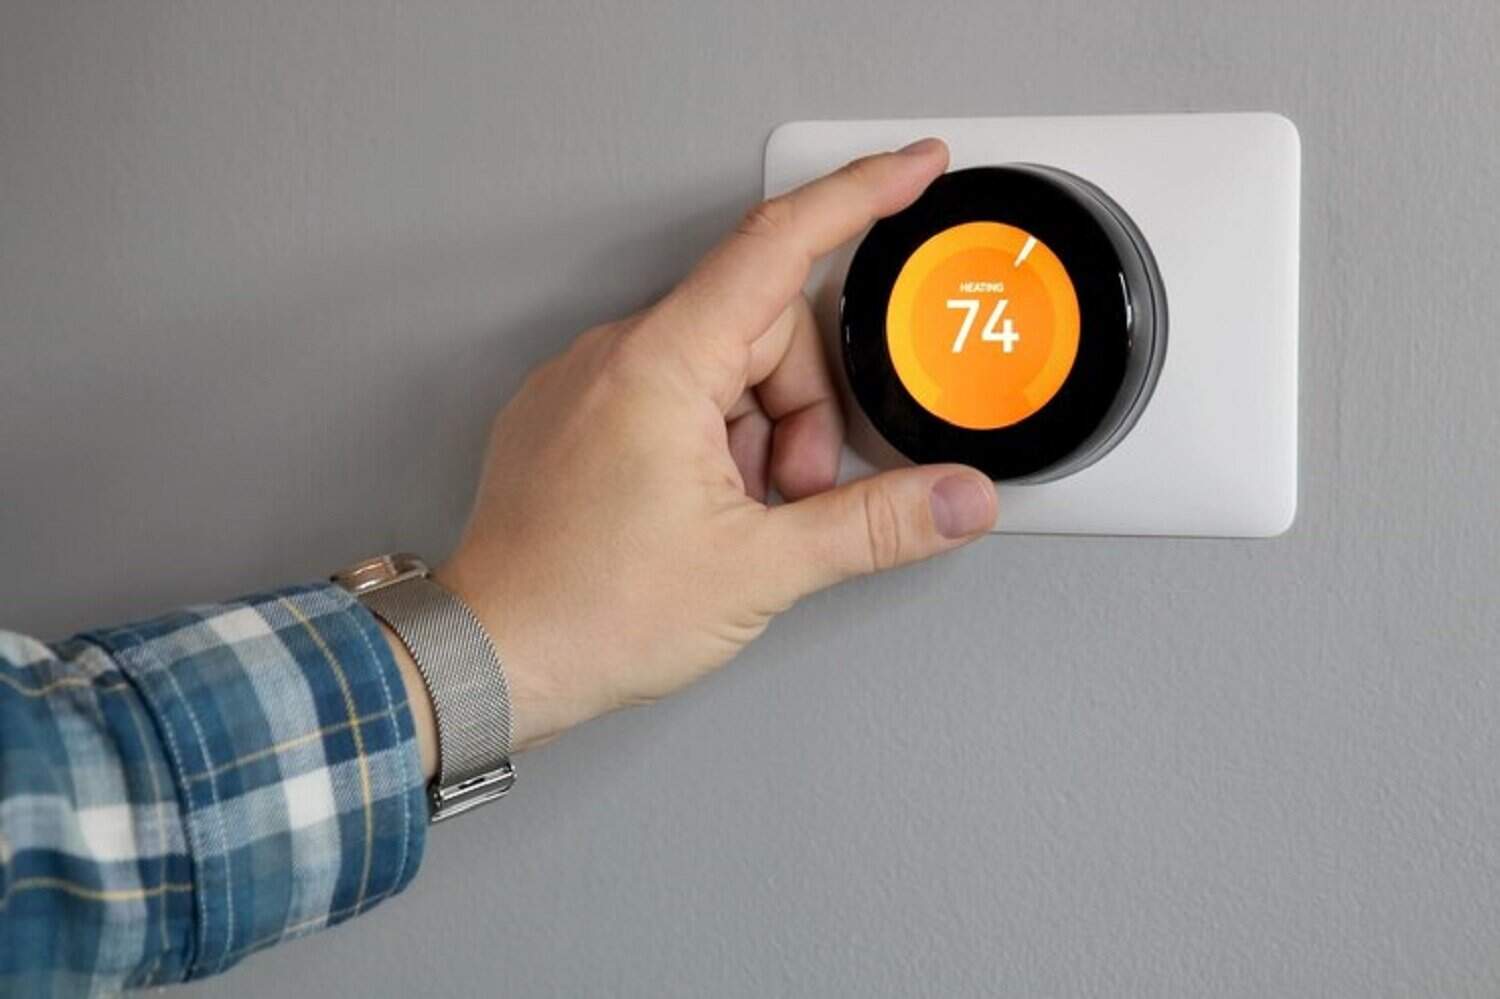
Is a Smart Thermostat Right for You?

smart thermostat

Managing your home’s temperature can be challenging, especially with traditional thermostats that require constant manual adjustments. Smart thermostats offer a modern solution. They bring advanced features that can make heating and cooling your home easier and more efficient.

Let’s explore the key benefits and considerations before installing one and how to choose the best smart thermostat for your needs. This way, you can enjoy a more comfortable and energy-efficient home.

What Is a Smart Thermostat?

A smart thermostat is a modern device that helps you control the temperature in your home more efficiently. Unlike traditional thermostats, smart thermostats can learn your preferences and adjust the heating and cooling automatically. This makes it easier to keep your home comfortable without having to constantly adjust the settings.

Smart thermostats connect to your Wi-Fi network, allowing you to control them using a smartphone app or voice commands through devices like Amazon Alexa or Google Assistant. This means you can change the temperature from anywhere, even if you are not at home. Some smart thermostats can also track your energy usage, helping you understand how much energy you are consuming and identify ways to save.

One of the smartest features of these devices is their ability to learn your routine. For example, they can detect when you leave the house and automatically lower the temperature to save energy. When you are about to return, the thermostat can start heating or cooling your home so it is comfortable when you arrive. This learning capability not only provides convenience but also helps you save on energy bills.

Key Benefits of Smart Thermostats

Smart thermostats offer several benefits that make them a worthwhile investment for your home. Here are some key advantages:

1. Energy Savings: One of the biggest benefits of smart thermostats is their ability to save energy. Automatically adjusting the temperature based on your habits and preferences helps reduce energy consumption. This can lead to lower utility bills and lessen your environmental impact.

2. Convenience: With a smart thermostat, you no longer need to manually adjust the temperature every time you leave or return home. The device learns your schedule and makes adjustments on its own. You can also control it remotely using your smartphone, which is handy if you forgot to turn down the heat before leaving the house.

3. Enhanced Comfort: Smart thermostats provide more precise temperature control, ensuring your home stays at a comfortable temperature. Some models offer room sensors that can detect temperature variations in different areas of your home, adjusting the heating or cooling to keep every room comfortable.

4. Insights and Alerts: Many smart thermostats provide insights into your energy usage and suggest ways to improve efficiency. They can also send you alerts if there are issues with your HVAC system, such as if the system is running longer than usual, which might indicate a problem.

5. Compatibility with Smart Home Systems: Smart thermostats can be integrated with other smart home devices. This allows you to create an interconnected system where your lights, security cameras, and thermostats can all be controlled through a single app or voice command. This unified control can make managing your home much easier.

Smart thermostats significantly improve home climate control by offering energy savings, convenience, enhanced comfort, useful insights, and compatibility with other smart devices. These benefits make them a smart choice for any modern home.

Considerations Before Installing a Smart Thermostat

Before you install a smart thermostat, there are a few important things to consider. Making sure you’re prepared can help you get the most out of your new device.

1. Compatibility: Not all smart thermostats work with every HVAC system. Check if the smart thermostat you want is compatible with your current system. Most manufacturers provide a compatibility checker on their website. It’s also a good idea to consult with an HVAC professional to make sure everything will work smoothly.

2. Wi-Fi Connection: Smart thermostats need a stable Wi-Fi connection to function properly. Ensure your home’s Wi-Fi signal is strong where you plan to install the device. A weak connection can lead to delays or even prevent you from controlling the thermostat remotely.

3. Power Requirements: Some smart thermostats require a C-wire (common wire) for power. If your current thermostat setup doesn’t have a C-wire, you may need to have one installed. Without the proper wiring, the smart thermostat may not work as intended.

4. Installation: While some smart thermostats are easy to install yourself, others may require professional installation. Consider your comfort level with handling electrical wiring and your familiarity with HVAC systems. Hiring a professional can ensure the job is done correctly and safely.

5. Privacy and Security: Smart thermostats collect data about your home’s temperature and occupancy patterns. Check the privacy policy of the thermostat manufacturer to understand how your data will be used. Also, make sure you have good security practices for your Wi-Fi network to protect your smart home devices from hacking.

Taking these considerations into account can help you choose and install a smart thermostat that meets your needs and works seamlessly with your home.

How to Choose the Right Smart Thermostat for Your Home

Choosing the right smart thermostat can greatly enhance your home’s comfort and efficiency. Here are some tips to help you make the best choice:

1. Features: Look for features that match your lifestyle. Some smart thermostats offer geofencing, which adjusts the temperature based on your location. Others have learning capabilities that adapt to your schedule. Consider what features will be most useful for your daily routine.

2. Ease of Use: The thermostat should be easy to program and control. Check reviews to see if other users find the interface simple to navigate. A user-friendly app can also make controlling your thermostat more convenient.

3. Energy Reports: Some smart thermostats offer detailed energy reports. These can help you track your energy usage and find ways to save. If you’re interested in monitoring your energy consumption, look for a model that provides this feature.

4. Price: Smart thermostats come in a range of prices. While more expensive models offer advanced features, there are also budget-friendly options that work well. Decide what features are essential for you and find a model that fits your budget.

5. Integration: If you have other smart home devices, choose a thermostat that integrates well with them. Check if the thermostat works with your smart home system or assistants like Amazon Alexa or Google Assistant.

By considering these factors, you can select a smart thermostat that will improve your home’s comfort and help you save energy.

Conclusion

A smart thermostat can be a great addition to your home, making it more comfortable and energy-efficient. Understanding the features and benefits, as well as what to consider before installing one, ensures you make the right choice. Whether it’s saving energy, enjoying enhanced comfort, or simply having the convenience of remote control, a smart thermostat can offer many advantages.

If you’re thinking about upgrading to a smart thermostat, we can help. At My Jockey, our HVAC contractors in New York can provide expert advice and installation services for all your HVAC needs. Contact us today to learn more about how we can improve your home’s comfort and efficiency with a smart thermostat.

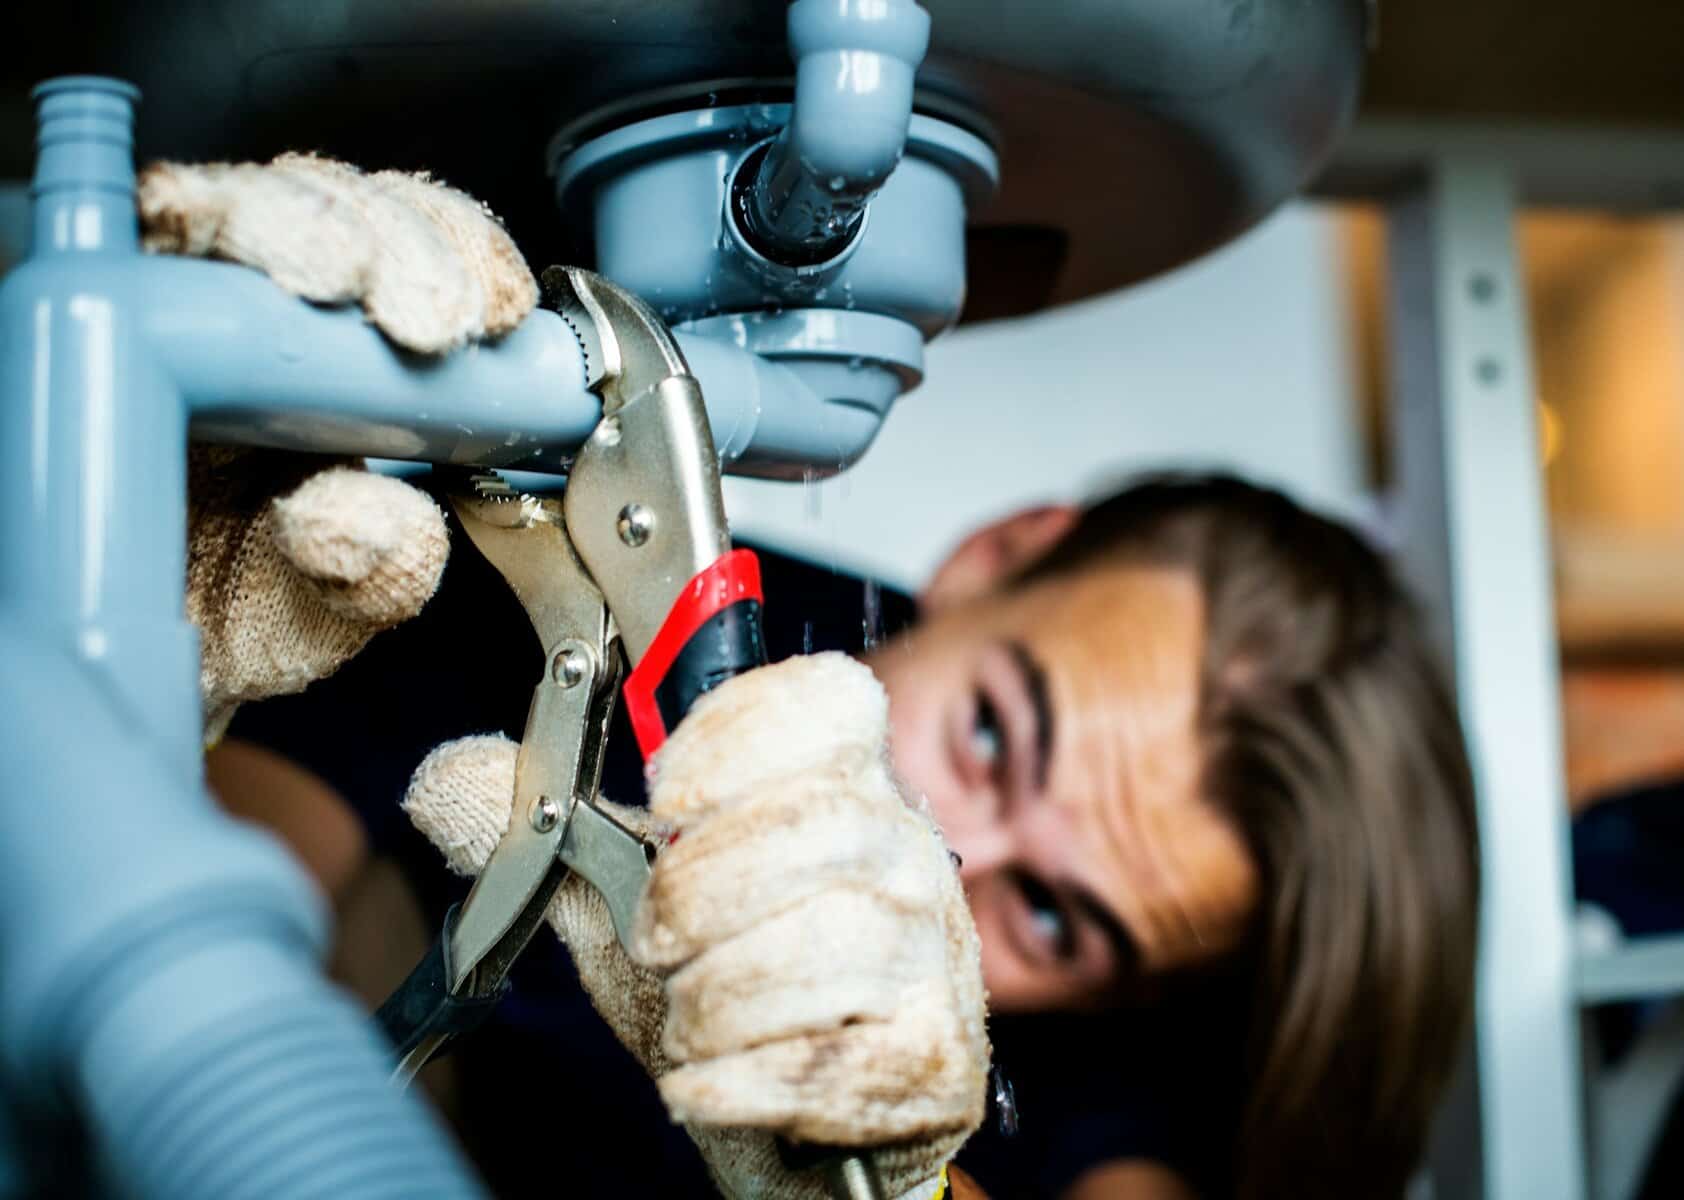
Top Tips to Prevent Plumbing Issues During Winter

plumber

Winter can be a challenging time for homeowners, especially when it comes to plumbing. The cold temperatures can cause a lot of problems if you’re not prepared. Frozen pipes, failing water heaters, and other issues can lead to costly repairs and a lot of stress. This is why it’s so important to take steps before the cold hits to ensure your plumbing system is ready for winter.

In this article, we will share tips to help you prevent common winter plumbing issues. By following these steps, you can protect your home and enjoy a worry-free winter.

Understanding Common Winter Plumbing Issues

During winters in Saratoga Springs, homeowners often face several common plumbing problems that can turn into expensive repairs if not addressed promptly. One primary issue is frozen pipes. Water expands when it freezes, which can cause pipes to burst. Burst pipes not only result in water damage but also require significant repair work that can be both time-consuming and costly.

Another common winter plumbing issue involves water heaters. Cold weather can put added stress on water heaters as they work harder to supply hot water. This increased usage can lead to failures, and a malfunctioning heater can leave you without hot water when you need it most. 

Additionally, clogged drains are frequent in winter due to holiday cooking and the use of disposals for food waste. Grease and fat can solidify in the pipes, causing blockages that need professional cleaning.

Effective Insulation Techniques to Protect Your Pipes

Protecting your pipes from freezing requires proper insulation, which is one of the most effective prevention measures. Here are some simple and effective techniques you can do:

1. Pipe Insulation: Use foam pipe insulation to cover your pipes. This material is readily available at most hardware stores and is easy to install. Measure the length of your pipes and cut the insulation to fit. Wrap it around the pipes, especially those in unheated areas like basements, attics, or garages.

2. Heat Tape: For added protection, consider using heat tape. This is an electrical tape that can be wrapped around pipes and plugged into a power source to provide continuous heat. Follow the manufacturer’s instructions carefully to avoid potential hazards.

3. Seal Gaps and Cracks: Inspect areas where pipes enter your home and use caulk or spray foam to seal any gaps or cracks. This helps keep cold air out and warm air in, reducing the risk of pipes freezing.

4. Cabinet Doors: On particularly cold nights, leave cabinet doors open under sinks to allow warm air to circulate around the pipes. This simple step can prevent freezing in exposed areas.

5. Outdoor Faucets: Don’t forget to winterize your outdoor faucets. Disconnect garden hoses and drain any remaining water. Install insulated covers over the faucets to keep them protected from freezing temperatures.

Essential Tips for Maintaining Your Water Heater in Cold Weather

Maintaining your water heater during the colder months ensures that you have a steady supply of hot water and prevents potential breakdowns. First, we recommend adjusting the thermostat to a temperature of around 120 degrees Fahrenheit. This setting provides enough hot water for household needs while ensuring the water heater’s efficiency and safety.

Next, drain the tank to remove sediment buildup. Over time, sediment can accumulate at the bottom of the tank, causing the heater to work harder and be less efficient. To do this, turn off the power or gas supply, attach a garden hose to the drain valve, and let the water and sediment flow out. After draining, refill the tank and turn the supply back on.

Additionally, insulating the water heater and its pipes can help maintain heat and reduce energy costs. Use an insulating blanket around the tank and wrap the pipes with foam insulation. These steps help to prevent heat loss, especially if your water heater is located in an unheated area like a garage or basement.

Proactive Measures to Prevent Frozen Pipes

Frozen pipes are a common issue in Saratoga Springs during the winter, but there are ways to prevent this from happening. Start by insulating all exposed pipes, especially those in unheated areas such as attics, basements, and garages. Use foam pipe insulation or heat tape to keep the pipes warm.

Another proactive measure is to keep a slow trickle of water running through the faucets connected to vulnerable pipes. This flow can prevent water from freezing in the pipes. Additionally, opening cabinet doors under sinks allows warm air to circulate around the pipes, reducing the chances of freezing.

If you plan to be away from home for an extended period during the winter, set your thermostat to at least 55 degrees Fahrenheit to ensure the house stays warm enough to prevent freezing. You might also consider shutting off the water supply and draining the pipes while you’re away.

Conclusion

Preparing your plumbing for a Saratoga Springs winter is essential to avoid costly repairs and ensure uninterrupted service during the cold months. From understanding common plumbing issues to insulating pipes and maintaining your water heater, our tips can help you safeguard your home’s plumbing system.

Regular maintenance and proactive measures make a significant difference in preventing winter plumbing problems. At My Jockey, we are committed to helping homeowners protect their plumbing systems through every season. For professional plumbing services and expert advice, reach out to us today. 

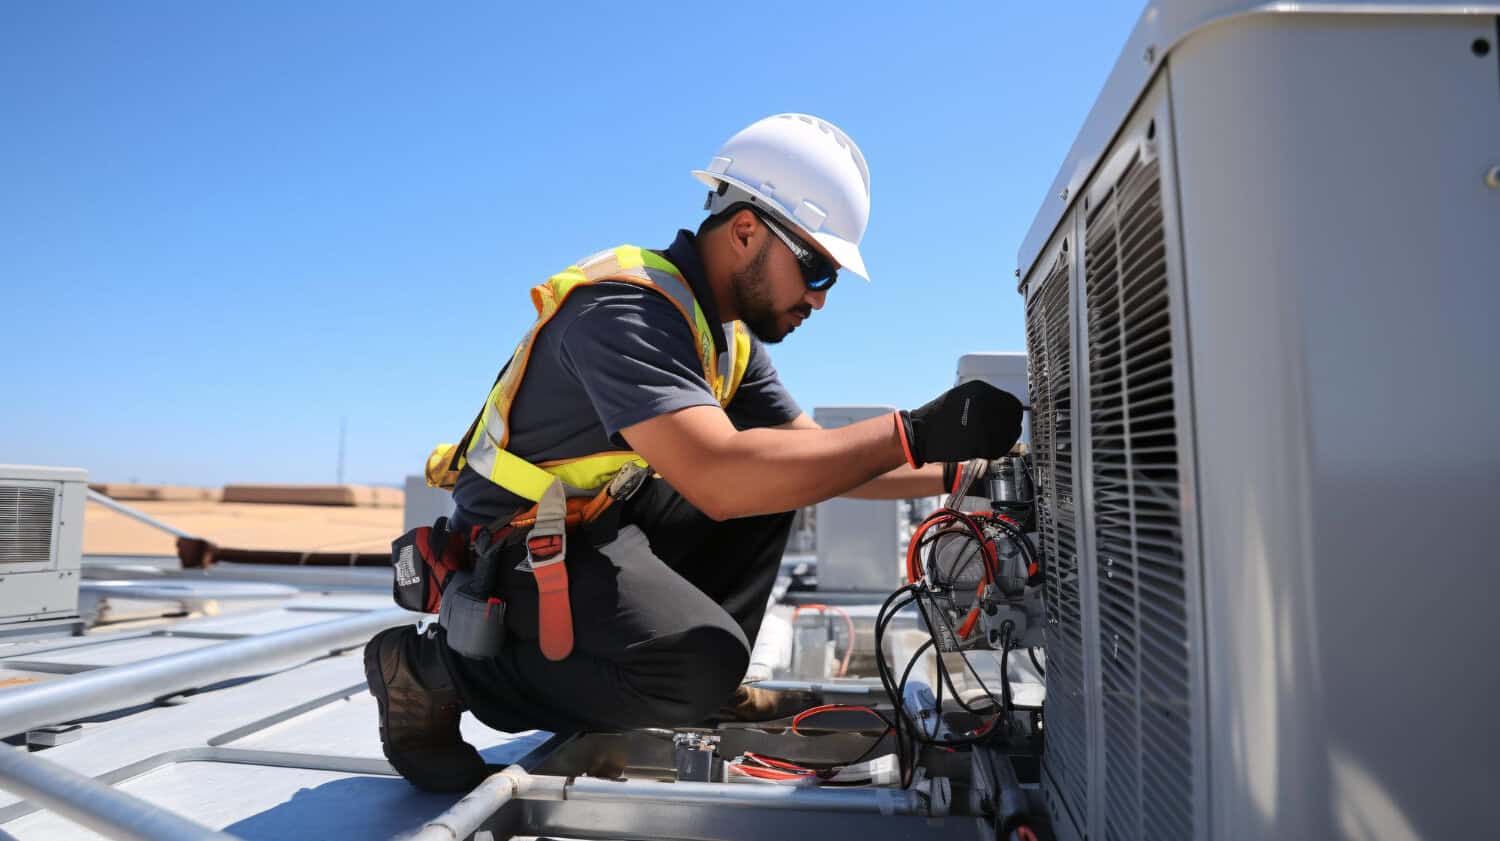
The Benefits of Regular HVAC Check-Ups

HVAC check-up

Taking care of your HVAC system is essential for a comfortable and efficient home. Regular check-ups can help your system work better and last longer. An HVAC system that’s well-maintained can save you money and keep your home comfortable year-round.

Regular HVAC check-ups are a smart investment that can provide many benefits. From saving money on energy bills to improving indoor air quality, these check-ups are an essential part of home maintenance. Read on to find out more.

Improved Energy Efficiency

Regular HVAC check-ups are essential for improving your system’s energy efficiency. When your HVAC system runs efficiently, it uses less energy to maintain a comfortable temperature in your home. This not only helps to lower your utility bills but also reduces strain on the environment.

1. Optimizing Performance: During a check-up, technicians will inspect and clean various components of your HVAC system. By ensuring that everything is in good working order, your system can operate more smoothly. Clean filters, lubricated parts, and correctly set thermostats all contribute to better energy efficiency.

2. Adjusting Settings: Often, HVAC systems need minor adjustments to settings like airflow and refrigerant levels. These adjustments can make a big difference in how efficiently your system operates. Technicians will fine-tune these settings during a check-up to ensure optimal performance and energy use.

3. Identifying Issues Early: Small problems can lead to big energy losses if left unaddressed. Regular check-ups allow technicians to identify and fix these issues early on. This helps to prevent your HVAC system from working harder than it needs to, saving energy in the process.

By taking simple steps to maintain your HVAC system, you can improve its energy efficiency significantly. This benefits both your wallet and the environment.

Extended Equipment Lifespan

Regular HVAC check-ups play a crucial role in extending the lifespan of your equipment. Just like a car, your HVAC system needs routine maintenance to stay in good shape. Regular check-ups can prevent the wear and tear that leads to breakdowns and costly repairs.

1. Routine Cleaning: Cleaning is essential to the longevity of your HVAC system. Dust, dirt, and debris can build up in the system, causing parts to wear out faster. By keeping everything clean, you can help your HVAC system run more smoothly and last longer.

2. Component Inspection: During a check-up, technicians will inspect all components of your HVAC system. This includes belts, fans, coils, and other parts that can wear out over time. Regular inspections help catch issues before they become serious problems, preventing damage and extending the life of your system.

3. Timely Repairs: Making timely repairs can also extend the life of your HVAC system. When small issues are identified early, they can be fixed before they cause more significant damage. This helps avoid the need for major repairs or even replacement.

4. Lubrication and Adjustments: Parts that move need to be lubricated regularly to prevent friction and wear. Technicians will also make necessary adjustments to ensure all parts are working correctly. These minor actions can have a big impact on how long your HVAC system lasts.

Enhanced Indoor Air Quality

Regular HVAC check-ups are crucial for enhancing the air quality inside your home. The air you breathe can significantly impact your health, and your HVAC system plays a big role in filtering out pollutants. A well-maintained system ensures that the air circulating in your home is clean and healthy.

1. Filter Maintenance: One of the key components of your HVAC system is its air filter. Over time, these filters can become clogged with dust, dirt, and allergens. During a check-up, technicians will clean or replace your filters, ensuring they effectively capture airborne contaminants.

2. Duct Cleaning: The ducts in your HVAC system can collect dust and other debris. This can lead to poor air quality and trigger allergies or respiratory issues. Regular duct cleaning is part of a comprehensive HVAC check-up, ensuring that the air circulating through your home is free of pollutants.

3. Humidity Control: Proper humidity levels are essential for good indoor air quality. A well-maintained HVAC system helps control humidity levels, preventing conditions that favor mold and mildew growth. Technicians will check and calibrate your system to maintain optimal humidity levels.

4. Ventilation: Proper ventilation is also an important factor. HVAC check-ups ensure that vents are not blocked and that air can flow freely throughout your home. This reduces the concentration of pollutants and helps maintain a healthy environment.

Preventing Costly Repairs

Regular HVAC check-ups are essential for preventing costly repairs. By catching small issues early, you can avoid bigger problems down the line. Regular maintenance keeps your system running smoothly and can save you money.

1. Early Problem Detection: During a check-up, technicians can identify minor issues like worn-out belts, refrigerant leaks, or electrical problems. Addressing these problems early prevents them from escalating into more serious and expensive repairs.

2. Routine Maintenance: Performing routine maintenance tasks like cleaning coils, lubricating moving parts, and adjusting settings can prevent wear and tear. This helps avoid unexpected breakdowns and extends the life of your system.

3. Avoiding Emergency Services: Emergency repairs can be costly and inconvenient. Regular check-ups minimize the risk of sudden malfunctions, ensuring your system runs reliably year-round and reducing the need for emergency service calls.

4. Cost-Effective Solutions: Regular check-ups provide a cost-effective way to manage your HVAC system. Preventive maintenance is typically much cheaper than major repairs or replacement. Staying on top of regular check-ups pays off in the long run.

Conclusion

Regular HVAC check-ups offer numerous benefits that contribute to a comfortable and healthy home. From improved energy efficiency and extended equipment lifespan to enhanced indoor air quality and preventing costly repairs, maintaining your HVAC system is essential. These check-ups ensure your system operates efficiently and reliably, saving you money and enhancing your quality of life.

Don’t wait until a small issue turns into a big problem. Take proactive steps to keep your HVAC system running smoothly. For professional and reliable HVAC services in Saratoga Springs and the Capital Region, NY, contact us at My Jockey today. Let our experts help you maintain a comfortable and efficient home.

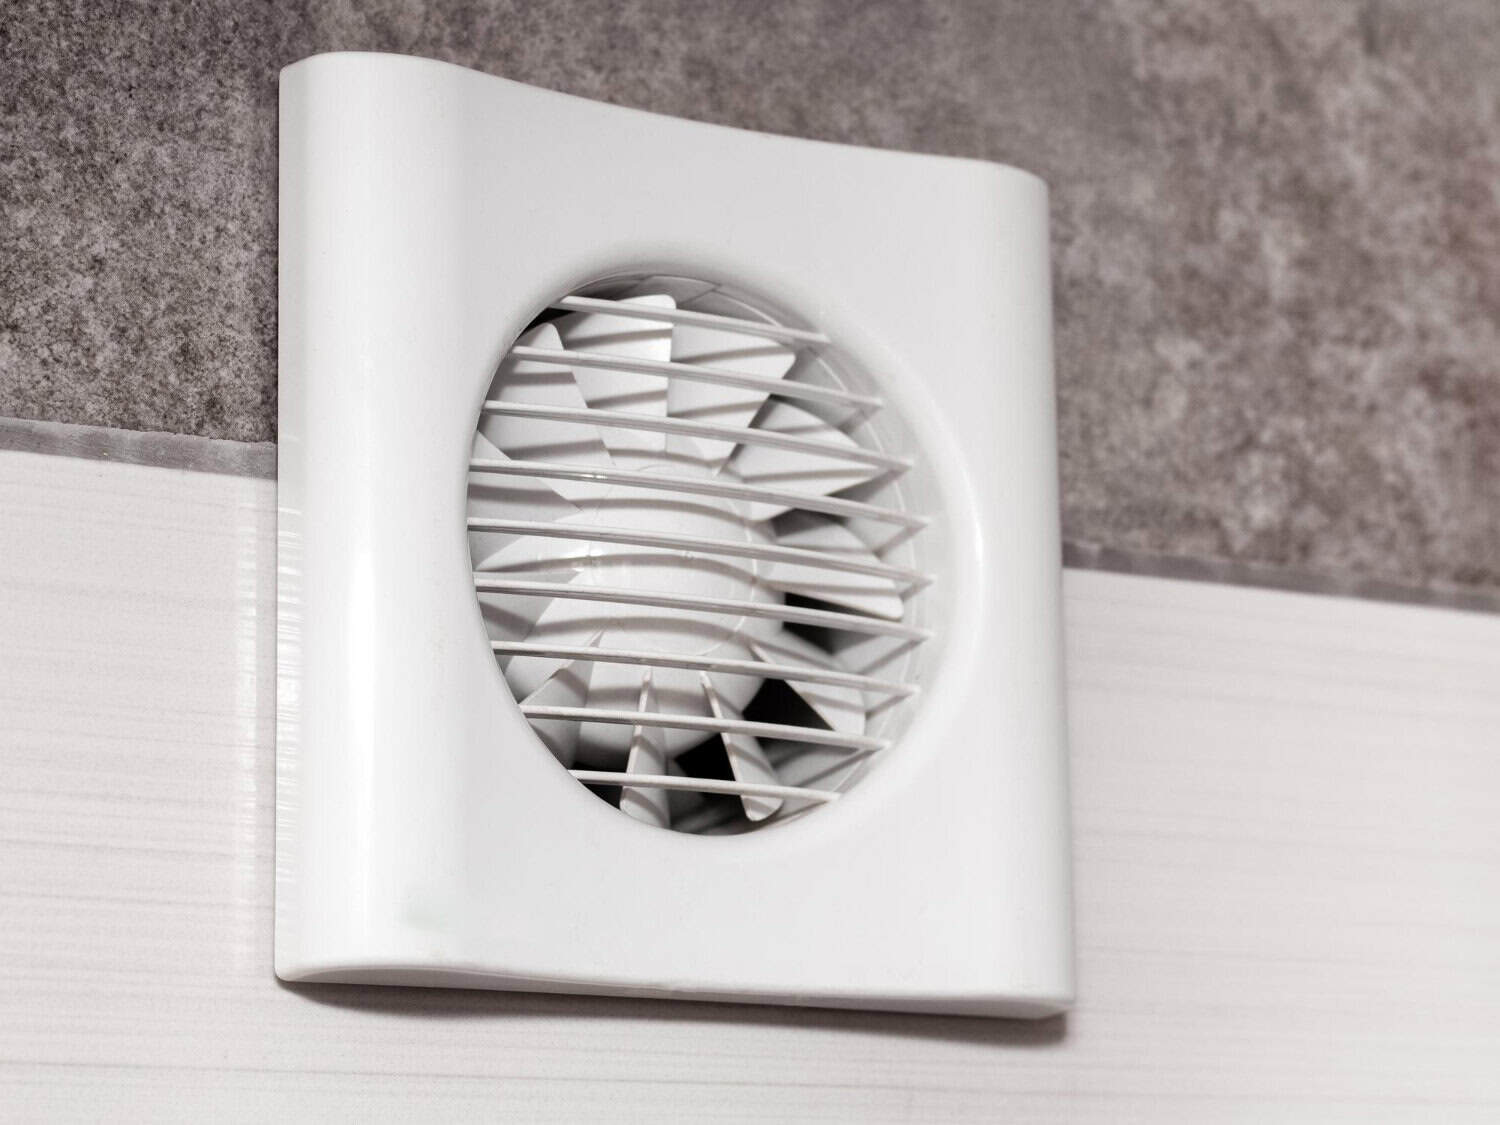
Easy Tips for Improving Air Quality at Home

exhaust fan

Breathing clean air is important for our health. The air inside our homes can sometimes be more polluted than outside air. Understanding what affects indoor air quality can help us make our homes healthier.

Many things can pollute indoor air, like dust, mold, pet dander, and chemicals from cleaning products. Poor air quality can cause allergies, asthma, and other health problems. Knowing what causes indoor air pollution is the first step in improving it.

In this article, we’ll explore different ways to improve the air inside your home. We’ll look at common indoor pollutants, how to ventilate your home properly, and the best air purifiers to use. You’ll also learn simple daily habits that can make a big difference. Let’s get started on making your home a healthier place to live!

Understanding Indoor Air Pollutants

Indoor air pollutants come from various sources around your home and can affect your health and comfort. Recognizing these pollutants is essential for creating a healthier living environment.

1. Dust and Pet Dander: Dust accumulates on surfaces and can be stirred up into the air. Pet dander, tiny flakes of skin from animals, also contributes to indoor air pollution. Both can trigger allergies and asthma.

2. Mold and Mildew: These thrive in damp places like bathrooms, basements, and around leaks. Mold spores can cause respiratory issues and other health problems when inhaled.

3. Volatile Organic Compounds (VOCs): VOCs are chemicals found in many household products, including paints, cleaners, and furniture. They can release harmful gases that cause headaches, dizziness, and long-term health effects.

4. Tobacco Smoke: Cigarette smoke contains numerous toxic chemicals that can linger in the air and on surfaces, posing significant health risks to both smokers and nonsmokers.

5. Pollen: Pollen from outdoor plants can enter your home through windows, doors, and on clothing. It can cause seasonal allergies and worsen indoor air quality.

Understanding these common pollutants helps us take steps to reduce their presence in our homes. By tackling the sources of these pollutants, you can create a cleaner, healthier indoor environment.

Effective Ways to Ventilate Your Home

Proper ventilation is key to maintaining good air quality. It helps remove stale air, reduce indoor pollutants, and bring in fresh air from outside. Here are some effective ways to ventilate your home:

1. Open Windows and Doors: One of the simplest ways to improve ventilation is by opening windows and doors. This allows fresh air to flow through your home and push out stale air. Try to do this regularly, especially when using cleaning products or cooking.

2. Use Exhaust Fans: Install exhaust fans in bathrooms and kitchens to remove moisture, odors, and pollutants. These fans help prevent mold growth by reducing humidity levels.

3. Install a Whole-House Ventilation System: For better control over indoor air quality, consider installing a whole-house ventilation system. These systems use fans and ducts to exchange indoor air with fresh outdoor air throughout the entire home.

4. Maintain Your HVAC System: Regular maintenance of your HVAC system ensures it runs efficiently and effectively. Change filters regularly and schedule annual check-ups to keep the system clean and functional.

5. Use an Air Exchanger: Air exchangers bring in fresh outdoor air while exhausting stale indoor air. They are especially useful in tightly sealed homes where natural ventilation may not be sufficient.

Proper ventilation not only improves air quality but also makes your home more comfortable. By following these tips, you can ensure a steady supply of fresh air and reduce the levels of indoor pollutants.

Choosing the Right Air Purifier

Selecting the right air purifier for your home can significantly improve indoor air quality. Here are some factors to consider when choosing an air purifier:

1. Type of Filter: The most common types of filters used in air purifiers are HEPA (High-Efficiency Particulate Air) filters and activated carbon filters. HEPA filters are excellent for removing dust, pollen, and pet dander, while activated carbon filters are effective at eliminating odors and chemical pollutants.

2. Room Size: Make sure to choose an air purifier that is suitable for the size of the room you want to clean. Check the Clean Air Delivery Rate (CADR) rating, which indicates the purifier’s capacity to filter airborne particles in a specific room size.

3. Noise Level: Consider the noise level of the air purifier, especially if it will be used in a bedroom or living room. Some models have a “quiet mode” which can be useful at night.

4. Energy Efficiency: Look for energy-efficient models to save on electricity costs. Air purifiers with the ENERGY STAR label meet strict energy efficiency guidelines.

5. Maintenance Requirements: Check how often filters need to be replaced and the cost of replacement filters. Some models have washable filters that can be reused, making them more cost-effective in the long run.

Choosing the right air purifier involves balancing these factors to meet your specific needs. A good air purifier can make a substantial difference in improving the air quality in your home.

Simple Daily Habits to Improve Air Quality

Improving air quality in your home can be as simple as adopting a few daily habits. Here are some easy steps you can take:

1. Keep Windows Closed During High Pollen Seasons: If you suffer from seasonal allergies, keep windows closed during high pollen seasons to prevent pollen from entering your home.

2. Vacuum and Dust Regularly: Dusting surfaces and vacuuming carpets and rugs can help reduce dust and pet dander. Use a vacuum cleaner with a HEPA filter for better results.

3. Avoid Using Scented Products: Scented candles, air fresheners, and cleaning products can release VOCs into the air. Opt for natural or unscented alternatives to reduce indoor pollutants.

4. Wash Bedding and Curtains Frequently: Bedding and curtains can collect dust and allergens. Wash them regularly to keep these pollutants at bay.

5. Use Exhaust Fans: Use exhaust fans in bathrooms and kitchens to remove moisture, odors, and pollutants. This helps reduce humidity and prevents mold growth.

6. Place Doormats at Entrances: Placing doormats at entrances can help trap dirt and prevent it from being tracked inside. Encourage family members and guests to wipe their feet before entering.

By incorporating these simple habits into your daily routine, you can significantly improve the air quality in your home. These small changes can have a big impact on your health and comfort.

Conclusion

Improving indoor air quality is a crucial step in making your home healthier and more comfortable. By understanding common indoor air pollutants and taking effective measures to ventilate your home, you can breathe cleaner air. Choosing the right air purifier and adopting simple daily habits can further enhance the air quality in your living space.

Taking these steps not only benefits your health but also contributes to the overall well-being of your family. Cleaner air means fewer allergens, reduced risk of respiratory issues, and a more pleasant home environment.

Ready to make your home a haven of clean air? Contact My Jockey for professional HVAC services that can help you achieve the best indoor air quality. Through air purification system installation, we can ensure your home remains comfortable and healthy all year round. Don’t wait—start breathing cleaner air today!

Tips to Make Your Water Heater Last Longer

water heater

Keeping your water heater in good condition is essential for ensuring you always have hot water when you need it. A well-maintained water heater can last many years, saving you money on repairs and replacements. Simple steps, like regular maintenance and proper settings, can make a big difference.

Regular Maintenance Checks

Regular maintenance checks are crucial for extending the life of your water heater. By checking your water heater regularly, you can spot and fix small problems before they turn into big issues.

1. Inspect the Tank and Pipes: Look at the outside of the tank and the pipes. Check for rust, leaks, or any other signs of wear and tear. Small leaks can grow into big ones, so it’s important to catch them early.

2. Check the Anode Rod: The anode rod protects your water heater from rust. It attracts corrosive elements in the water, keeping them away from the tank. Over time, the rod wears out and needs to be replaced. Checking the anode rod every couple of years can make your water heater last much longer.

3. Test the Pressure Relief Valve: The pressure relief valve keeps the water heater from building up too much pressure. Lift the lever on the valve to make sure it works correctly. If water comes out when you lift the lever, it’s working fine. If not, it might need to be replaced.

Regular maintenance checks help keep your water heater running smoothly. Taking a little time to inspect different parts of the system can save you from costly repairs in the future.

Flushing the Tank Annually

Flushing the tank is an essential step in maintaining your water heater. Over time, sediment builds up at the bottom of the tank. This sediment can cause problems, like making your water heater less efficient or even causing damage to the tank.

1. Turn Off the Heater: Before you start, make sure the water heater is turned off. If you have an electric water heater, turn off the power at the circuit breaker. If you have a gas water heater, turn the thermostat to the “pilot” setting.

2. Connect a Hose: Attach a garden hose to the drain valve at the bottom of the tank. Run the other end of the hose to a safe place where the hot water can drain, like a floor drain or outside.

3. Drain the Tank: Open the valve to let the hot water and sediment drain out. Be careful, as the water will be hot. You can also open the pressure relief valve at the top of the tank to help the water drain faster.

4. Flush with Fresh Water: Once the tank is empty, close the valve and turn the cold water supply back on for a few minutes. This will rinse out any remaining sediment. Then close the drain valve, remove the hose, and turn the water heater back on.

Flushing the tank each year helps keep your water heater efficient and in good condition. Removing sediment buildup prevents damage and makes your water heater last longer. It’s a simple task that can make a big difference in the performance of your water heater.

Adjusting the Temperature Settings

Adjusting the temperature settings on your water heater can greatly impact its efficiency and lifespan. The ideal temperature setting is around 120°F. This temperature is hot enough to meet your needs while preventing the heating element from working harder than it should.

1. Locate the Thermostat: The thermostat is usually found on the front of the water heater. For electric heaters, there may be two thermostats—one for the top and one for the bottom heating element. Gas water heaters typically have a clearly labeled temperature dial.

2. Adjust the Temperature: Use a flathead screwdriver to turn the dial to the recommended 120°F. If you have a gas heater, simply turn the dial by hand. Setting the temperature too high can cause scalding and energy waste, while setting it too low might not provide enough hot water.

3. Check the Water Temperature: After adjusting the thermostat, check the temperature of the water at the tap. Allow it to run for a few minutes, then use a thermometer to test the temperature. Make sure it’s around 120°F, and adjust the settings if necessary.

Lowering the temperature setting reduces the strain on your water heater, helping it last longer. It also saves on energy costs and keeps your family safe from potential burns.

Insulating the Water Heater

Insulating your water heater is a simple way to improve efficiency and extend its lifespan. Insulation helps keep the heat inside the tank, so the water heater doesn’t have to work as hard to keep the water hot.

1. Get an Insulation Blanket: You can find insulation blankets at most hardware stores. Make sure to get one that fits the size of your water heater. These blankets are made from fiberglass and other heat-resistant materials.

2. Turn Off the Heater: Before you add insulation, turn off the water heater. For electric heaters, switch off the power at the circuit breaker. For gas heaters, turn the thermostat to the “pilot” setting.

3. Wrap the Tank: Wrap the insulation blanket around the tank, making sure not to block the controls, vents, or access panels. Use tape to secure the blanket in place. If you have an electric water heater, cut out spaces for the upper and lower thermostats.

4. Insulate the Pipes: While you’re at it, consider insulating the first few feet of the hot and cold water pipes. Pipe insulation is easy to install and can further improve efficiency.

Insulating your water heater and pipes helps maintain the water temperature, reducing the frequency of heating cycles. This not only saves energy but also lessens the wear and tear on the system, extending its lifespan.

Conclusion

Taking care of your water heater doesn’t have to be complicated. By following these simple tips, you can make sure your water heater runs efficiently and lasts longer. Regular maintenance checks, flushing the tank, adjusting the temperature settings, and insulating the tank are all easy tasks you can do to keep your water heater in the best condition possible.

When your water heater is well-maintained, you can enjoy reliable hot water without worrying about unexpected breakdowns or high energy bills. These small actions can add up to big savings and peace of mind over time.

If you need help with maintaining your water heater or have questions about your HVAC and plumbing systems, contact My Jockey today. Our expert team is here to provide heating and air conditioning services so you can keep your home comfortable and efficient all year round.