How to Identify Early Signs of Water Heater Problems

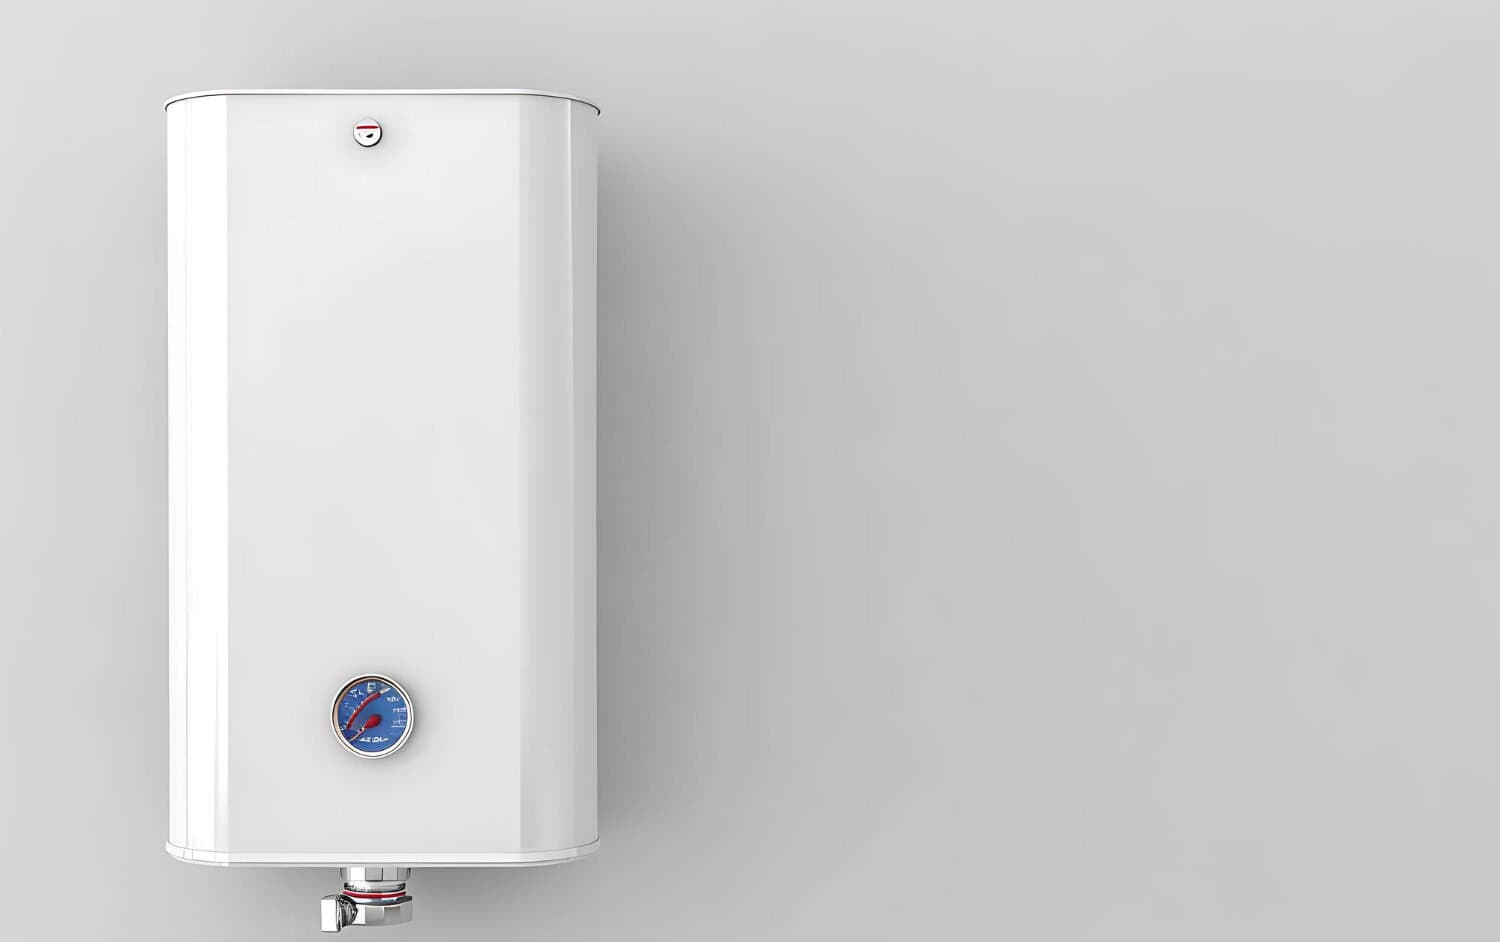
Water Heater

A reliable water heater is vital for a comfortable home, providing hot water for showers, cleaning, and more. But like any appliance, water heaters can develop issues over time. Knowing the early signs of trouble helps you tackle problems before they turn into costly repairs or replacements.

Your water heater communicates potential problems through sounds, smells, and even changes in water quality. By staying alert to these warning signals, you can catch issues before they cause major damage or leave you without hot water. Quick action not only prolongs the life of your water heater but also ensures your home runs smoothly.

Understanding these early indicators can save you stress and expense. Being proactive with your water heater’s care means fewer disruptions to your daily routine and better efficiency overall. Don’t wait for an icy shower or a flooded basement to address your water heater’s health. Start by learning what to watch for and how to respond effectively.

Recognizing Unusual Sounds and Smells

Listening to your water heater can reveal a lot about its overall condition. If you hear popping or rumbling sounds, it may be due to sediment buildup in tanked water heaters. Sediment forms when minerals in the water settle at the bottom of the tank. This layer creates a barrier between the burner and the water, making the heater work harder to do its job. Over time, this causes the water heater to overheat, leading to noise and potential damage. Regularly flushing the tank helps prevent this issue.

Another thing to be aware of are unusual smells. A metallic scent can indicate the presence of rust or corrosion inside the tank, often suggesting that the anode rod needs replacing. This rod is crucial because it attracts corrosion to protect the tank lining. If it’s depleted, rust can spread throughout the tank. On the other hand, a rotten egg smell might mean a bacterial infection in the tank. This typically happens when bacteria interact with the elements in the water, producing an unpleasant sulfur odor. Cleaning the tank with hydrogen peroxide or having a professional water heater service can solve this problem.

Monitoring Water Temperature and Pressure

Temperature and pressure changes can provide clear signs of water heater troubles. Here’s a simple way to check them:

1. Turn on the Hot Water: Observe if the water takes unusually long to heat or if it fluctuates between hot and cold.

2. Check the Pressure Relief Valve: Lift the test lever on the valve to ensure it releases water properly. If nothing happens, it might be stuck or faulty.

3. Use a Thermometer: Compare the actual water temperature to the thermostat setting. A big difference means the thermostat might be failing.

Constant changes in temperature and pressure may indicate more significant problems. Fluctuating temperatures often suggest issues with the heating element or thermostat. These components are responsible for maintaining consistent water heating. If they aren’t working well, the heater can’t provide steady warmth.

Pressure changes, meanwhile, might indicate problems in the plumbing or too much sediment. A faulty pressure relief valve can also be suspect. This valve helps control the pressure and prevent tank explosions, making it crucial for safety. Having erratic pressure calls for immediate attention, as it can signal an underlying issue like a faulty expansion tank or clogged pipes. Regular checks and prompt repairs keep your water heater running safely and smoothly.

Identifying Water Discoloration or Leaks

Water discoloration is a warning sign that something might be wrong with your water heater. If you notice rust-colored or cloudy water flowing from your taps, it could mean there’s corrosion inside the tank. This happens when the inner lining wears away, allowing rust to form. Sediment can also cause discoloration, as minerals like calcium and magnesium accumulate and cloud the water. To address this, consider flushing your water heater to remove sediment buildup. If the problem persists, it may require replacing the anode rod or the entire tank.

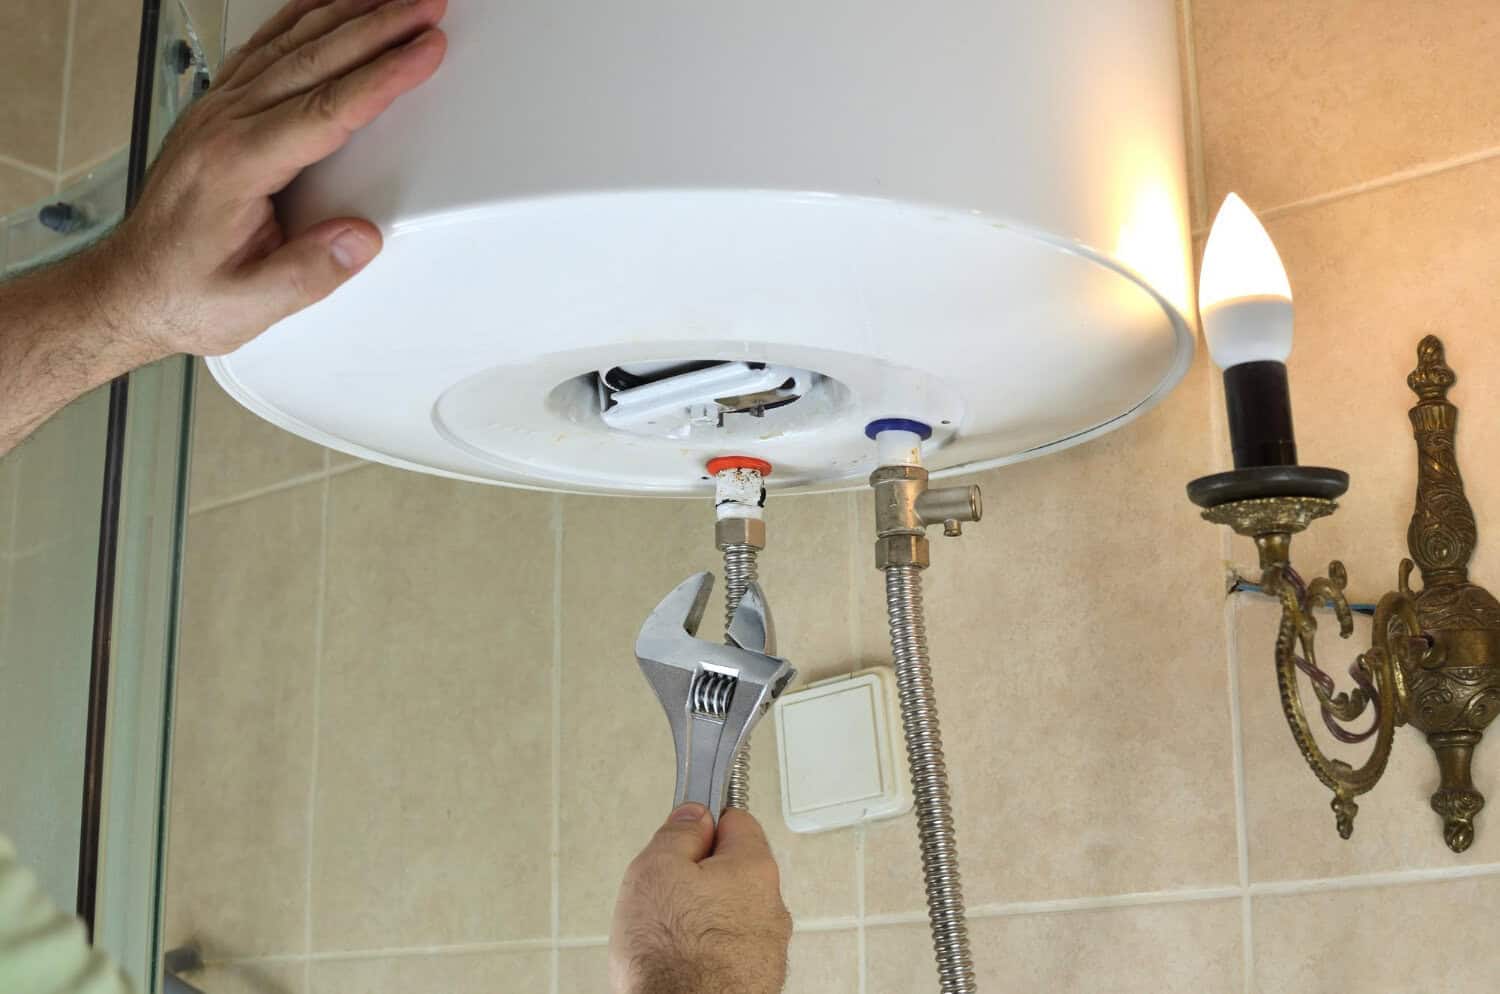
Leaks, even small ones, can lead to significant issues if left unchecked. Always be on the lookout for water puddling or dripping around the heater. A leaking tank might be due to corrosion or a failing valve. Check all connections and hoses for tightness and possible wear. Addressing leaks promptly can prevent water damage and improve your heater’s efficiency. If you notice any dampness or mold around the water heater area, call a professional to assess and repair the issue before it escalates.

Checking Pilot Light and Energy Bills

The pilot light on your water heater is crucial for its operation. Inspecting it can help identify potential problems. If the pilot light flickers or its color changes to yellow instead of blue, there may be combustion problems. This could mean that the burner is dirty, or there’s an imbalance in the mixture of gas and air. Regular cleaning and maintenance of the burner and ensuring proper ventilation can resolve these issues.

An unexpected increase in energy bills can indicate inefficiencies in the water heater system. When the heater struggles to maintain the right temperature, it uses more energy. Hidden problems like a failing thermostat, sediment buildup, or defective heating elements can cause this. Monitoring your energy usage can help you notice these changes. If your bills spike without a clear reason, it’s time to have your water heater inspected. Maintaining your unit efficiently ensures that you’re not paying more for insufficient heating.

Conclusion

Understanding the early signs of water heater problems helps you take action before they become big headaches. Simple checks for noises, smells, water quality, and bills can give you a heads up on what might need attention. Proactive maintenance and quick repairs keep your heaters working smoothly, preventing bigger costs and discomfort. Keeping an eye out for these early indicators ensures a steady flow of hot water for your home.

By paying attention to what your water heater is telling you, you maintain comfort and efficiency in your home. When issues pop up, don’t hesitate to reach out for professional help to safeguard your investment and your peace of mind. Remember, a little attention now can save a lot later.

If you’re facing water heater issues or need professional advice, contact My Jockey for expert help. Our experienced team in heating and plumbing is ready to provide efficient solutions tailored to your needs. With our friendly and reliable water heater service, you’ll be back to enjoying hot water without any worries. Reach out to us today and let us handle your water heater troubles—from repairs to regular maintenance, we’ve got you covered!
Seasonal Heating Tune-Up Essentials for Homeowners

Heating

As the chilly months approach, ensuring your heating system is in top shape becomes crucial. A well-maintained heater not only keeps your home cozy but also helps save on energy bills. Seasonal tune-ups are essential for preventing unexpected breakdowns and extending the life of your heating equipment.

By proactively checking your heating system, you can catch potential issues before they turn into costly repairs. Simple tasks like inspecting your thermostat and cleaning filters can make a big difference in how efficiently your heater runs. Understanding what to look for and what to do can keep your system working properly throughout the season.

Regular maintenance, combined with the right tweaks, can greatly improve the performance and longevity of your heater. Understanding these essential tune-up steps ensures your home stays warm and comfortable, no matter how cold it gets outside.

Conducting a Thorough System Inspection

To ensure your heating system runs smoothly, start with a thorough inspection. Begin by checking the thermostat. Make sure it’s working correctly and set to your desired temperature. If the thermostat is programmable, ensure the settings align with your daily routine for optimal energy use.

Next, focus on your air filters. Dirty filters can restrict airflow, causing your heating system to work harder and less efficiently. Clean or replace filters at least every three months, or more often if you have pets or allergies.

Now, take a look at your system’s ductwork. Over time, ducts can develop leaks, which allows warm air to escape and reduces efficiency. Inspect the ductwork for any obvious holes or disconnected parts. Feel along the ducts for any drafts, which can indicate a leak that needs sealing.

Clear any obstructions from vents and registers throughout your home. Furniture, drapery, and other objects can block airflow, causing uneven heating. Make sure these areas are open and free of dust or debris to allow optimal warm air distribution.

By addressing these items in your inspection, you ensure your system is tuned for efficiency and ready to tackle the cold months ahead.

Essential Maintenance Tasks for Heaters

Regular maintenance keeps your heating system in top shape. Here are key tasks to help your heater perform its best:

1. Lubricate Moving Parts: Parts like bearings and motors need lubrication to reduce friction and wear. This helps prevent excess energy consumption and extends the life of your equipment.

2. Tighten Electrical Connections: Loose connections can lead to unsafe operation or reduced performance. Check all wiring and connections to ensure they are secure.

3. Inspect Fuel Lines: For systems using fuel, such as natural gas or oil, examine lines for cracks or leaks. Proper inspection can prevent dangerous fumes from entering your home.

4. Clean the Burner: The burner is crucial for creating heat in gas systems. Clean the burner regularly to remove residue and maintain proper flame quality.

5. Adjust the Pilot Light: Ensure the pilot light burns brightly and steadily. A flickering or weak light can lead to inefficient heating. Adjust as needed for proper function.

By performing these tasks, your heater will function more effectively, using energy efficiently to keep your home warm. Regular maintenance saves you from costly repairs and ensures your system is ready to handle the demands of winter.

Optimizing Efficiency with Humidifiers and Air Purifiers

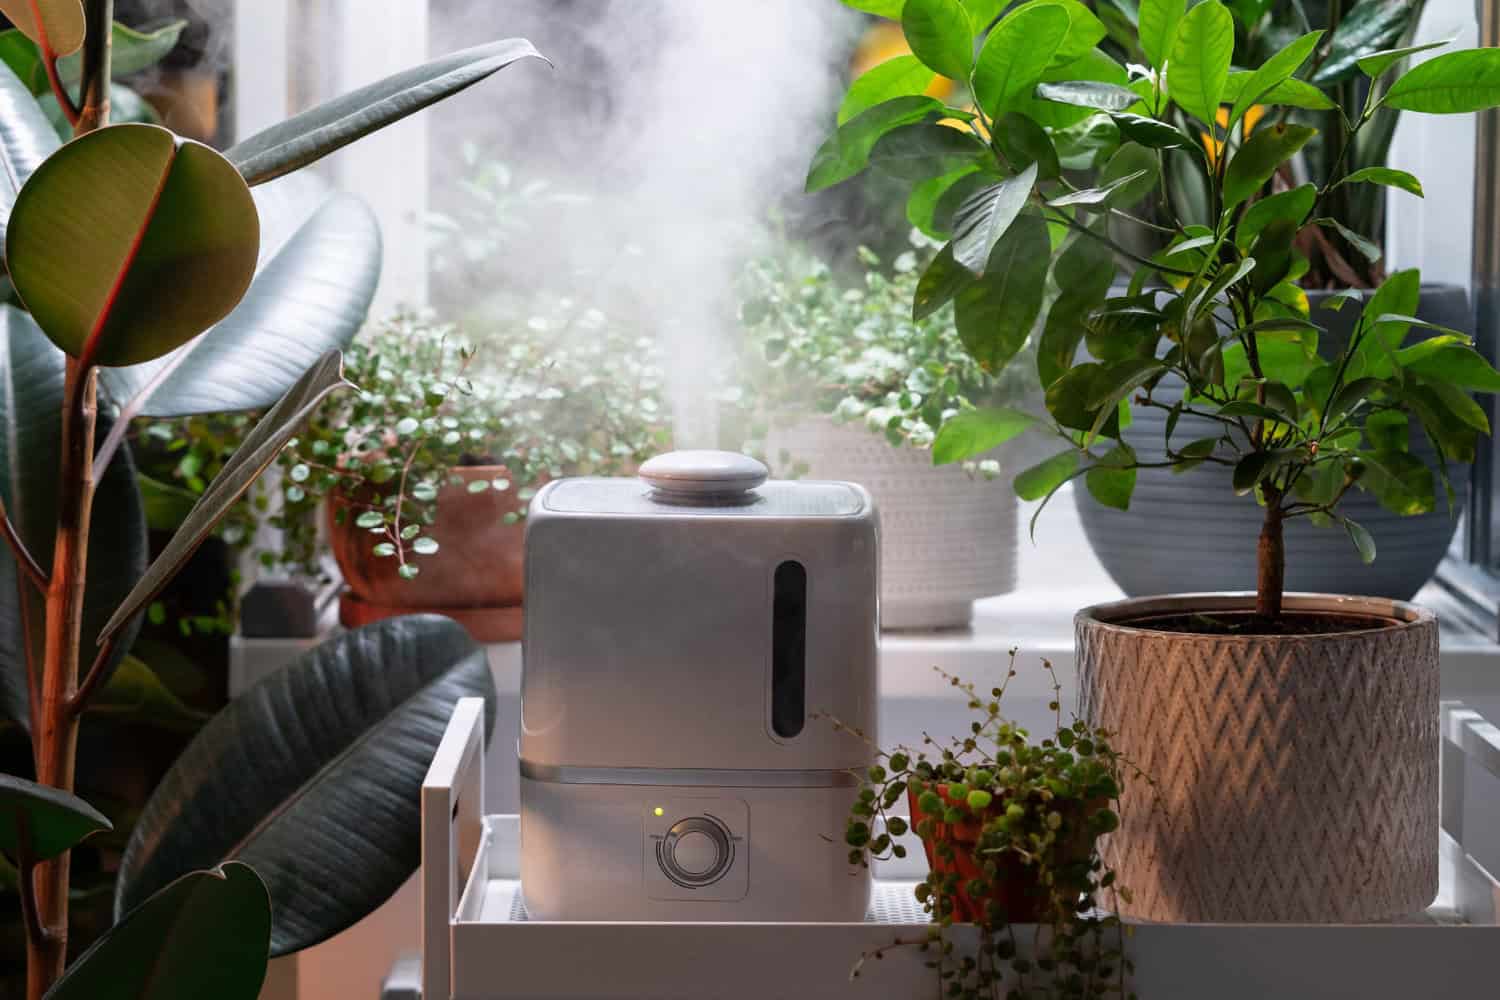
Humidifiers play a crucial role in enhancing your heating system’s performance during winter. Dry air not only feels colder but can also cause your heater to work harder to maintain a comfortable temperature. By adding moisture to the air, humidifiers help retain warmth, allowing your system to operate efficiently. They prevent common issues like static electricity and dry skin, boosting comfort within your home.

Air purifiers contribute to a cleaner and healthier home environment. They remove dust, allergens, and pollutants from the air, which can improve the efficiency of your heating system. By ensuring the air is cleaner, your system doesn’t have to work overtime to circulate heat. Air purifiers maintain a fresher indoor atmosphere and, more importantly, protect household members from respiratory issues often exacerbated by poor air quality during heating seasons.

Incorporating both humidifiers and air purifiers helps optimize your overall heating experience, making your home more comfortable and your system more efficient.

Recognizing When to Schedule Professional Tune-Ups

Knowing when to call a professional for a tune-up is vital for the longevity of your heating system. Unusual noises, like banging or clanking, can indicate a problem that needs expert attention. Similarly, inconsistent heating throughout your home can suggest emerging issues that might not be obvious during routine checks.

A professional tune-up provides a more comprehensive inspection than you might achieve alone. These experts have the tools to address hidden problems—avoiding potential breakdowns during the coldest months. Regular tune-ups help maintain system performance, ensuring your heater operates at peak efficiency.

Routine professional maintenance offers several advantages. It improves energy efficiency, which can lead to noticeable savings on monthly energy bills. Furthermore, it extends the lifespan of your equipment, reducing the need for costly repairs or replacements. By scheduling a seasonal tune-up, you ensure reliable operation all winter long.

Conclusion

Preparing your heating system for winter is an essential step for every homeowner. Through a thorough inspection and regular maintenance, your system will be ready to take on the cold without missing a beat. From lubing parts to checking ductwork, these tasks contribute to smoother operation and lower energy costs.

Keeping your home comfortable goes beyond just having a functional heater. Humidifiers and air purifiers play a significant role in maximizing your system’s efficiency and maintaining a healthy indoor climate. Meanwhile, recognizing signs that it’s time to call a professional for a tune-up ensures your system stays in excellent condition.

As the cold season approaches, now is the perfect time to schedule your heating service near Saratoga Springs. Contact My Jockey for a comprehensive service. Our expert technicians will ensure your system is fully prepared for whatever winter throws your way, so you can focus on staying warm and cozy in your home.

Boost Your Heating System’s Efficiency

heating system

As the cold season sets in, it’s important to make sure your heating system runs efficiently. A well-functioning system keeps your home warm and helps save on energy costs. Understanding how your heating system works can reveal simple steps to improve its performance.

Various types of heating systems, such as furnaces, heat pumps, and boilers, each have their unique functions and potential issues. Identifying the type you have is the first step towards making the most of it. Regular maintenance and small adjustments can make a big difference in how well your system heats your home.

Understanding Your Heating System

Knowing the type of heating system you have is key to maximizing its efficiency and warmth in your home. The three main types are furnaces, heat pumps, and boilers, each offering unique benefits and challenges.

Furnaces are the most common heating systems in homes. They heat air, and a blower circulates the warm air throughout your home via ductwork. While efficient for many, inconsistencies or blockages in ducts may affect efficiency.

Heat Pumps work by transferring heat from outside to inside your home. They are efficient because they don’t generate heat but move it between areas. However, heat pumps might work less efficiently in extremely cold climates, where their ability to draw heat from the outside air diminishes.

Boilers provide warmth by heating water or steam that flows through pipes, supplying radiant heat through radiators or underfloor pipes. This system offers steady, even heat dispersion, but leaks or sediment buildup can hinder efficiency.

Common challenges all systems face include leaks, mechanical wear, and blockages, which can reduce their efficiency. By understanding how your specific heating system operates, you can better identify potential issues and take steps to ensure it works at peak performance. 

Regular Maintenance Practices

Regular maintenance ensures your heating system operates efficiently and lasts longer. Routine service keeps everything running smoothly and prevents surprise breakdowns.

Here’s a list of routine maintenance tasks:

  • Replace Filters: Change furnace or heat pump filters regularly, at least every three months, to ensure clean airflow and efficiency.
  • Check Thermostat Settings: Verify that your thermostat is working correctly to maintain desired temperatures more efficiently.
  • Inspect the Heat Exchanger: For furnaces, ensure this component is clean and without cracks, which can be dangerous and decrease efficiency.

Seasonal Checklist:

  • Spring and Fall Cleaning: Clean the heating elements, blower assembly, and ducts if applicable, as they collect dust and debris over time.
  • Lubricate Moving Parts: Some motors and bearings require lubrication to prevent friction and wear.
  • Test Safety Controls: Ensure all safety mechanisms are operational before the heavy winter usage.

Professional Inspections and Tune-Ups:

Having a professional check your heating system annually is crucial. They can spot potential problems you might miss and perform tasks such as:

  • Checking for gas leaks in gas-powered furnaces.
  • Ensuring boilers have appropriate water pressure and no signs of corrosion.
  • Verifying heat pump coils and compressors function correctly.

Regular attention to your heating system helps maintain comfort and efficiency and leads to reduced heating costs. This upkeep is an investment in both efficiency and peace of mind, assuring you handle small problems before they become big ones.

Optimizing Home Insulation

Proper insulation is crucial for improving the efficiency of your heating system. It works by keeping warm air inside during winter and preventing cold air from seeping in, making your home cozier and your heating system more effective. Poor insulation often leads to heat loss, causing your system to work harder to maintain a comfortable temperature, which in turn raises your energy bills.

To make sure your home is well-insulated, focus on key areas. Start with the attic, where much of the heat loss occurs. You can use fiberglass batts or blown-in insulation to fill gaps. Next, check the walls for proper insulation. If you have older walls, consider adding spray foam insulation, which fits snugly into cavities, providing a good thermal barrier.

Don’t forget about your ductwork. Insulated ducts help keep the temperature consistent as air travels through your home. This can be done using duct wrap or spray foam insulation, which reduces energy loss. By insulating these critical areas, you can maintain a comfortable home while boosting your heating system’s efficiency. The right insulation not only helps with energy savings but also adds value to your property by ensuring an efficient heating environment.

Utilizing Smart Technology

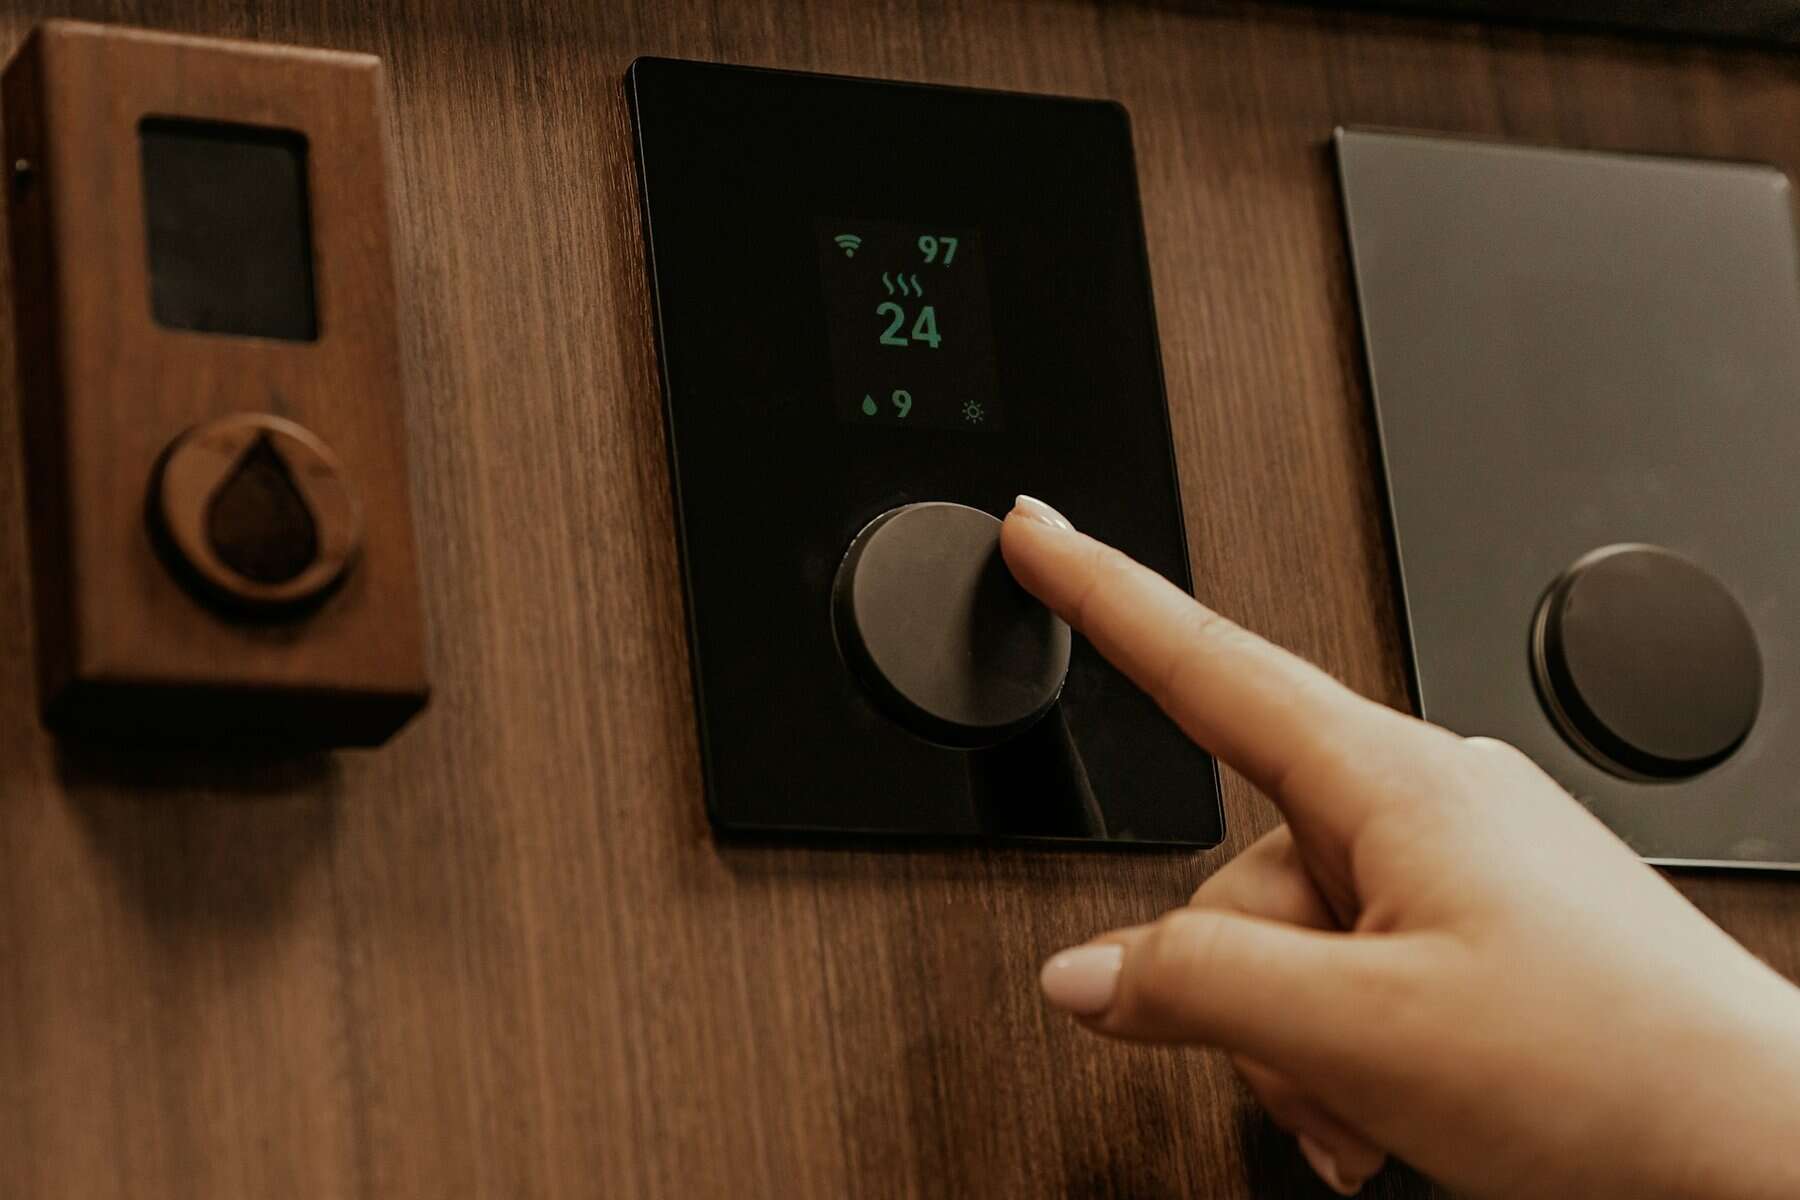
Integrating smart technology into your heating system can significantly enhance its efficiency. Smart thermostats, such as programmable models, allow you to set precise temperature schedules based on your daily routine. This ensures your system operates only when needed, saving energy and reducing costs. For example, you can lower the temperature while you’re away and have it warm again just before you return, optimizing energy use without sacrificing comfort.

Moreover, smart home systems offer advanced monitoring features. They automatically adjust settings to maintain the desired temperature while maximizing efficiency. Some systems even learn your habits over time, optimizing heating cycles accordingly. This adaptive learning ensures consistent comfort and further drives down energy consumption.

Setting up a smart thermostat is straightforward. Begin by choosing a model that fits your HVAC system. Follow the manufacturer’s instructions to connect it to your home Wi-Fi. Once installed, use the associated app to program temperature settings tailored to your lifestyle. Regularly check and update these settings for optimal results. Leveraging smart technology in your heating system streamlines energy use and enhances comfort, making it an indispensable tool for modern homeowners.

Conclusion

Enhancing your heating system’s efficiency is pivotal for comfort and cost savings. By understanding different heating systems and implementing routine maintenance, you keep your system functioning optimally. Proper insulation prevents unnecessary heat loss, ensuring your home remains warm and energy use is minimized. Utilizing smart technology aligns system performance with lifestyle needs, offering precision control over your environment.

When you’re ready to optimize your home’s heating system or need expert guidance, My Jockey is here to help. We specialize in heating services in Saratoga Springs and The Capital Region, NY tailored to your needs. Let us assist you in creating a more efficient and comfortable home today!

When to Replace Your Furnace

furnace replacement

Replacing an outdated furnace can be a daunting decision, but knowing when to upgrade is crucial for comfort and cost savings. As technology advances, older units may struggle to keep up, leading to higher energy bills and uncomfortable temperature fluctuations. Recognizing the signs that your furnace is reaching the end of its lifespan helps you make informed choices about your home’s heating system.

Signs Your Furnace is Nearing the End

Knowing when your furnace is wearing out can save you from unexpected breakdowns during the colder months. One of the most telling signs is frequent repairs. If you find yourself calling a technician every few months, your furnace might be struggling to keep up with your heating needs. Constant repairs can quickly add up, making it more economical to consider a new system.

Inconsistent heating throughout your home is another indicator. If certain rooms feel colder while others remain warm, your furnace may be losing its ability to distribute heat evenly. This inefficiency can lead to discomfort for your family and increased energy consumption as the system tries to catch up.

Pay attention to unusual noises and odors. Rattling, buzzing, or whistling sounds can signal mechanical problems or issues with airflow. Persistent odors, especially those that smell like something burning, can indicate serious issues that require immediate attention. These signs should not be ignored as they might compromise the safety and efficiency of your furnace.

To summarize, look out for these common indications that your furnace is nearing the end of its useful life:

  • Frequent repairs
  • Inconsistent heating
  • Unusual noises or odors

By staying alert to these warning signs, you can make a timely decision about replacing your furnace and maintaining a comfortable home environment.

Evaluating Energy Efficiency

Evaluating the energy efficiency of your furnace is an important step towards understanding its current condition. One of the first signs of reduced efficiency is an increase in your energy bills. If you notice your heating costs creeping up without a change in usage, your furnace might be running less efficiently.

Another sign of reduced efficiency is poor performance. If your furnace takes a long time to warm your home or if the heat output seems weak, it may be time to upgrade. A struggling system works harder to maintain comfortable temperatures, using more energy and leading to higher bills.

The benefits of newer, energy-efficient furnace models are significant. Modern units are designed to optimize performance while consuming less energy. Upgrading to a high-efficiency furnace means lower monthly utility costs and a reduced carbon footprint. These models often come with advanced features such as programmable thermostats and variable speed motors, enhancing comfort and further saving energy.

Consider these reasons to evaluate your furnace’s efficiency:

  • Rising energy bills
  • Decreased heating performance
  • Advantages of energy-efficient models

Age of Furnace and Technology Advances

The age of your furnace plays a vital role in its performance. Typically, a furnace lasts between 15 to 20 years. As it approaches or surpasses this age, wear and tear can significantly reduce its efficiency. Older furnaces often struggle to meet modern heating demands, leading to frequent breakdowns and higher energy costs.

Technology in furnace systems has evolved considerably in recent years. Innovations such as smart thermostats, variable-speed blowers, and improved heat exchangers have enhanced efficiency and comfort. These advancements provide precise temperature control, quieter operation, and better indoor air quality. A newer furnace incorporates these features, making it a worthy investment if your current system is outdated.

When considering an upgrade, think about how these technological developments can impact your home environment. A modern furnace can adjust its performance based on your home’s current needs, optimizing energy use and maintaining consistent warmth. This not only improves comfort but also reduces operational costs over time.

Cost Analysis: Repair vs. Replacement

Deciding between repairing or replacing your furnace requires careful analysis. Frequent repairs, especially if they are costly, can add up quickly. If you’re frequently dealing with breakdowns and spending money on repairs, it might be more cost-effective to replace the system.

Consider the 50% rule: if the cost of repairs approaches or exceeds 50% of the cost of a new furnace, replacement is generally the smarter choice. Moreover, a new, energy-efficient furnace can save you money in the long run by lowering monthly utility bills and reducing future repair costs.

Evaluate these factors when deciding whether to repair or replace:

  • Frequency and cost of repairs
  • Age of the furnace
  • Cost of potential savings from a more efficient model

Balancing immediate repair costs against the long-term benefits of a new system will guide you to the best financial decision. A thoughtful assessment of these aspects ensures that you choose the most economical and efficient solution for your home’s heating needs.

Conclusion

Making the decision to replace your furnace involves weighing several important factors. From understanding the signs that indicate your furnace is reaching the end of its lifespan to recognizing the benefits of newer technology, each aspect plays a role in ensuring your home remains comfortable and efficient. Upgrading to a new furnace provides numerous advantages, including improved energy efficiency, lower utility costs, and enhanced comfort and air quality. These improvements are pivotal for maintaining a warm and inviting home environment during the colder months.

At My Jockey, we understand the unique needs of homes in Saratoga Springs and the Capital Region, NY. Our team is ready to guide you through the process of choosing a new, efficient heating system tailored to your lifestyle and budget. Don’t wait until it’s too late—contact us today to schedule a heating and furnace installation to ensure warmth and comfort for years to come!

Easy Steps to Clean the Air in Your House

indoor air quality

Breathing clean air indoors is crucial for staying healthy and feeling comfortable. Indoor air quality can affect how we feel and function. Clean air in our homes reduces allergy symptoms and improves overall well-being. Many everyday things, like dust and pet dander, can lower air quality without us even noticing.

Understanding how to manage air quality gives you control over your living space. With a few tweaks and the right tools, you can breathe easier and enjoy a healthier home environment for you and your family.

Understanding Indoor Air Quality

Clean air in your home is vital for your health and comfort. When indoor air quality is good, it supports your respiratory health and overall well-being. Breathing in clean air reduces allergy symptoms and helps maintain a comfortable living environment. When air quality is poor, it can lead to issues like headaches, fatigue, and aggravated asthma.

Indoor air pollutants are often invisible culprits reducing air quality. Dust particles float around and can cause allergies or asthma flares. Pollen sneaks in through open windows and clings to clothes or pets, triggering sneezing or congestion. Pet dander, a common irritant, causes discomfort for those sensitive to animal allergens. These pollutants may seem harmless but can significantly impact health over time.

Poor indoor air quality’s effects on health are not always immediate and can accumulate over months or years. Consistently breathing in pollutants can lead to serious health conditions, especially for children, the elderly, or those with pre-existing health issues. By recognizing these issues, you can take actionable steps to improve the air quality in your home and protect your health and comfort.

Tips for Improving Air Circulation

Improving air circulation in your home helps maintain a fresh and healthy environment. Good circulation removes stale air and introduces fresh air, which is essential for reducing indoor pollutants. Here are some effective ways to boost air circulation:

1. Open Windows: The simplest way to improve ventilation is to open windows. Let fresh air in and old air out for at least 15-20 minutes a day.

2. Use Exhaust Fans: Install exhaust fans in areas like kitchens and bathrooms. They help pull out stale air and reduce humidity, especially after cooking or showering.

3. Install Ceiling Fans: Ceiling fans help distribute air evenly across a room. They can work with windows or air conditioning to circulate air more efficiently.

4. Cross-Ventilation: Encourage airflow through your home by opening windows on opposite sides. This creates a breeze that pushes stuffy air out and brings fresh air in.

5. Move Furniture: Make sure furniture doesn’t block air vents or windows. Rearranging can enhance flow and prevent dust buildup.

Effective Use of Air Purifiers and Filters

Air purifiers play a key role in maintaining clean indoor air by capturing airborne particles. They work using filters or electronic methods to trap dust, pollen, pet dander, and even smoke. The air is pulled through a filter where pollutants are trapped, and clean air is pushed back into the room. Using an air purifier can greatly reduce allergy triggers and improve breathing quality, making your home feel fresher and more comfortable.

Choosing the right air purifier involves considering the size of the room you want to purify. Small units are suitable for bedrooms or home offices, while larger spaces like living rooms may require a more robust system. It’s important to match the capacity of the purifier to the area for it to work effectively. Look for units with HEPA filters, as they are known for high efficiency in trapping fine particles.

Regularly changing HVAC filters is another vital part of maintaining good air quality. HVAC systems constantly circulate air, so they need clean filters for optimal performance. Dusty or clogged filters can circulate pollutants and reduce system efficiency. Experts recommend changing filters every 1-3 months, depending on the system and air quality.

Natural Ways to Clean the Air

Nature provides simple solutions to enhance indoor air quality. Houseplants are excellent for cleaning the air naturally. Certain plants absorb carbon dioxide and release oxygen, improving air quality. Some popular air-purifying plants include spider plants, peace lilies, and snake plants. Placing a few of these around your home can freshen the air and add greenery to your space.

Controlling humidity is also crucial to preventing mold and musty odors. Excess moisture in the air can lead to mold growth, which negatively affects air quality. Use dehumidifiers in damp areas like basements, and ensure your home is properly ventilated to keep humidity levels in check.

Adopting simple, everyday practices can greatly impact indoor air quality. Consider these habits to keep your home environment clean:

  • Keep Shoes at the Door: Reduces the amount of dirt and pollutants tracked inside your home.
  • Regular Vacuuming: Removes dust and allergens from carpets and floors. Opt for vacuums with HEPA filters for better results.
  • Air Out Bedding and Fabrics: Prevents dust mite buildup by letting fabrics breathe.
  • Conclusion

Enhancing indoor air quality is not just about comfort; it directly impacts health and well-being. From understanding common indoor pollutants to adopting simple strategies for cleaner air, the journey to better air quality involves multiple steps. Utilizing air purifiers and ensuring proper ventilation can make a big difference. Let’s not forget the natural touches that plants add in creating a fresher and more inviting atmosphere. By taking these steps, you ensure a safe and pleasant environment for you and your family.

Need help ensuring your indoor environment is as healthy as possible? Contact My Jockey today for expert advice and air purification services tailored to your needs. We offer a range of services and products that will enhance both the safety and comfort of your home. Discover how easy it is to improve indoor air quality with the right guidance from our professionals!

How to Extend the Life of Your Water Heater

water heater maintenance

A well-maintained water heater is essential for ensuring a steady supply of hot water in your home. Proper care and regular maintenance can significantly extend its lifespan, keeping it running efficiently while helping you avoid costly repairs or replacements. By taking a few simple steps, you can enhance the performance and durability of this crucial home appliance.

Understanding the basics of temperature control, water quality, and maintenance tasks like flushing the tank can make a big difference. Not only does this help in preserving the water heater, but it also plays a role in cutting down energy expenses. 

Regular Maintenance Tips

Regular maintenance is crucial for keeping your water heater running smoothly and efficiently. One essential task is flushing the tank. Over time, sediment and minerals can accumulate at the bottom of the tank, reducing efficiency and causing damage if left unchecked. Flushing the tank annually helps remove this buildup, improving both performance and lifespan.

Checking the anode rod is another critical maintenance step. The anode rod is a metal rod that attracts corrosive elements in the water, preventing them from rusting the tank. Inspect the anode rod every three years and replace it if more than 50% of the rod is corroded. This simple step can prevent costly damage and extend the life of your water heater.

Performing regular inspections can help identify issues before they become serious problems. Look for signs of leakage or rust and listen for unusual noises, which can indicate sediment buildup. These inspections promote peace of mind, ensuring your water heater operates at its best.

Consider these routine maintenance tasks:

  • Flush the tank annually to remove sediment buildup.
  • Inspect and replace the anode rod as needed to prevent rust.
  • Conduct regular inspections for leaks or unusual noises.

By prioritizing these maintenance tips, you protect your investment and ensure a reliable hot water supply for your home.

Importance of Temperature Control

Controlling the temperature of your water heater is vital for both safety and efficiency. Setting the thermostat to the right temperature prevents overheating, which can lead to scalding and damage. The U.S. Department of Energy recommends setting your water heater to about 120°F. This setting is hot enough to meet most household needs while reducing the risk of burns.

Proper temperature control also impacts energy efficiency. Higher temperatures cause the heater to work harder, consuming more energy and increasing utility bills. By setting your water heater to an optimal temperature, you balance energy use and water heating needs, leading to savings on energy costs.

Moreover, efficient temperature settings extend the lifespan of your heater. Overheating can put excessive stress on the unit, leading to a shorter operational life. Maintaining the recommended setting ensures less wear and tear, allowing the heater to function efficiently over time.

Here are key points about temperature control:

  • Recommended Setting: Keep the thermostat at 120°F for safety and efficiency.
  • Energy Savings: Lower settings reduce energy consumption and costs.
  • Longevity: Prevents overheating, reducing stress on the heater.

Adjusting and monitoring the temperature of your water heater ensures a safe and efficient system, helping you avoid potential damage and unnecessary expenses.

Understanding Water Quality

Water quality plays a vital role in the efficiency and lifespan of your water heater. Hard water, which contains a high level of minerals like calcium and magnesium, can have adverse effects. These minerals can build up inside the tank, leading to scaling, reduced efficiency, and potential damage over time. The buildup forms a layer that acts as an insulator, making the heater work harder to maintain the desired water temperature.

Using a water softener can mitigate these effects by removing the minerals before they enter the water heater. This not only protects the internal components but also enhances energy efficiency by allowing the heater to operate more smoothly. A water softener can be a valuable investment if you live in an area known for hard water.

Here are some steps to check water quality and make simple enhancements:

  • Test for Hardness: Use a water testing kit to determine the level of mineral content.
  • Install a Water Softener: If needed, to prevent mineral buildup.
  • Regularly Flush the Tank: This helps remove existing deposits and maintain efficiency.

By paying attention to water quality, you can prevent common issues and extend the operational life of your water heater, ensuring it serves your household reliably.

Upgrading Components for Longevity

Improving the longevity and efficiency of your water heater can be as simple as upgrading certain components. Installing an insulating jacket is one easy way to enhance performance. This jacket helps retain heat, reducing the amount of energy needed to keep the water hot. It’s a cost-effective solution that can lower your energy bills over time.

Upgrading to a smart thermostat offers more precise control over your heating system. Smart thermostats learn your usage patterns and adjust the heating schedule to maximize efficiency. This not only saves energy but also ensures you have hot water when you need it most.

Consider these upgrades to prolong your water heater’s life:

  • Insulating Jackets: Keep heat in and reduce energy consumption.
  • Smart Thermostats: Provide greater control over temperature and efficiency.
  • Regular Maintenance Checks: Ensure all components are in good working order.

These enhancements not only increase efficiency but also help prevent premature wear and tear, keeping your heater running smoothly for years to come.

Conclusion

Maintaining your water heater involves a holistic approach that considers maintenance, temperature control, water quality, and component upgrades. By addressing these key areas, you not only ensure a reliable and efficient hot water supply but also extend the life of your system. Regular maintenance tasks like flushing the tank and checking the anode rod are simple yet effective ways to prevent issues. 

To keep your home’s system functioning optimally, consider contacting My Jockey. Whether it’s routine maintenance or advice on upgrades, we’re here to help you enjoy the comfort and savings that come with a well-maintained water heater system. Connect with us today for comprehensive water heater services and let us guide you towards increased energy efficiency and peace of mind for your home!

Simple Fixes for Common Plumbing Issues Around Your Home

Plumbing

Dealing with plumbing issues at home can be frustrating, but many common problems have simple solutions you can tackle yourself. From leaky faucets to running toilets, understanding how to fix these issues not only saves you time but also money. 

With a bit of patience and a few tools, you can handle these plumbing challenges without needing to call in professionals every time. Let’s dive into these straightforward fixes to keep your home’s plumbing running smoothly.

Identifying and Fixing Leaky Faucets

Leaky faucets are a common annoyance in many households. They happen due to wear and tear over time. Common causes include worn-out washers, improper installation, or corroded valve seats. A drip might seem harmless, but it can lead to a significant waste of water.

To fix a leaky faucet, you need a straightforward approach. Here’s a simple step-by-step guide to tackle the problem:

1. Turn Off Water Supply: Before starting any repair, turn off the water supply to the faucet to prevent water from spilling.

2. Plug the Drain: Closing the drain with a stopper helps avoid losing any small parts down the drain during the repair.

3. Remove Handle: Use a screwdriver to take off the handle and expose the faucet’s internal components.

4. Inspect and Replace Washer: If it’s a compression faucet, inspect the washer for damage and replace if necessary.

5. Check O-Ring and Valve Seat: Inspect the O-ring and valve seat for signs of wear, replacing them if they appear worn or corroded.

6. Reassemble and Test: Put the faucet back together and turn on the water supply to test for leaks.

Tools you might need include a Phillips and flathead screwdriver, adjustable wrench, replacement washers, O-rings, and plumbing grease. By following these steps, you can fix leaks easily and save on water bills.

Unclogging Drains with Basic Tools

Clogged drains can disrupt your daily routine, whether in the kitchen or bathroom. Fortunately, with the right tools and a little know-how, you can resolve most clogs yourself. The key is to use basic tools correctly.

Common tools for unclogging drains include:

– Plunger: Effective for sinks, showers, and toilets.

– Drain Snake: Ideal for breaking up tough clogs deep in the pipes.

– Wire Coat Hanger: A simple tool for pulling out hair and debris from pipes.

– Baking Soda and Vinegar: Natural solution for loosening minor clogs.

Here’s how to use these tools effectively:

1. Plunger: Create a seal over the drain and push down firmly several times with the plunger. This creates suction to dislodge the clog.

2. Drain Snake: Insert the flexible snake into the drain. Turn the handle to break up and pull out the obstructing material.

3. Wire Coat Hanger: Straighten the hanger and form a small hook at one end. Use it to fish out clogs near the top of the drain.

4. Baking Soda and Vinegar: Pour half a cup of baking soda down the drain, followed by half a cup of vinegar. Let it sit, then flush with hot water.

Using these methods regularly helps prevent severe blockages and maintain free-flowing drains throughout your home.

Addressing Low Water Pressure Issues

Low water pressure can be quite frustrating, making simple tasks like showering or filling a sink take longer than necessary. Several common reasons might cause low water pressure in your home. Typically, these include issues such as mineral buildup in the pipes or aerators clogging, problems in the water supply line, or a malfunctioning pressure regulator.

Here are some simple solutions to try if you encounter low water pressure:

– Clean the Aerators: Mineral deposits often clog the small holes in faucets and showerheads. Unscrew the aerator from the faucet, soak it in vinegar overnight, and scrub off any deposits with a brush.

– Check for Leaks: Inspect all visible plumbing for leaks. Even a small leak can reduce water pressure. Fixing leaks might involve tightening connections or replacing worn-out components.

– Flush Your Water Heater: Sediment can build up in the water heater, affecting pressure. Regularly flushing the heater can help maintain optimal performance and pressure levels.

– Inspect the Pressure Regulator: If your home has a pressure regulator and you suspect it’s faulty, it may need replacement. Consider hiring a professional if you lack experience with this task.

– Examine Supply Line Issues: Sometimes the issue lies outside your property, like problems with the municipal water supply. Contact your local water department if you suspect this is the case.

Quick Solutions for Running Toilets

A running toilet isn’t just annoying; it can also lead to higher water bills. Understanding the causes of a constantly running toilet can help you fix it quickly. Often, the problem lies with parts like flappers, fill valves, or the chain linking the two.

To troubleshoot and fix a running toilet, try these steps:

1. Check the Flapper: Open the tank and inspect the rubber flapper. If it appears worn or doesn’t seal properly, it might need replacing. Ensure it is seated correctly at the bottom of the tank.

2. Adjust the Fill Valve: The fill valve controls the water level in the tank. Adjust the float or replace the valve if it doesn’t shut off at the correct water level.

3. Inspect the Chain: The chain connecting the handle to the flapper can tangle or break. Ensure it has the right length; too loose or too tight can interfere with proper sealing.

4. Look for Cracks: Inspect the overflow tube and other internal components for any cracks that might leak. Replace them if needed.

5. Tighten Connections: Sometimes, a running toilet is due to loose bolts or connections. Tighten any visible nuts and bolts inside the tank.

Conclusion

Simple plumbing issues might seem difficult at first, but with some guidance and the right tools, you can often troubleshoot and resolve them yourself. Whether it’s fixing leaky faucets, unclogging drains, adjusting water pressure, or solving running toilet problems, a little DIY effort goes a long way. These skills not only save money but also empower you to maintain your home’s plumbing system more effectively.

For those times when a problem goes beyond your expertise or when regular maintenance is necessary, professional help is invaluable. Keeping your plumbing in top shape ensures better water efficiency and prevents future issues from arising. My Jockey is committed to assisting with your plumbing needs, offering expert advice and services to keep your home running smoothly. Contact us today for professional assistance and ensure your plumbing in Saratoga stays in perfect working order.

Professional Tips for Improving Air Quality in Your Home

Air Quality

Breathing clean air is essential for maintaining a healthy home environment. With the increased time spent indoors, ensuring good air quality is more important than ever. Indoor air can often be filled with pollutants like dust, allergens, and even chemicals from household products. Fortunately, there are simple and natural ways to improve your home’s air quality, making it a healthier place to live. Read on to find out more.

Utilize Air Purifiers and Plants

Improving indoor air quality can start with using air purifiers, which are an effective way to remove various pollutants and allergens from the air. These devices work by drawing in air and passing it through filters that capture dust, pollen, pet dander, and even some bacteria and viruses. High-efficiency particulate air (HEPA) filters are considered the gold standard for trapping tiny particles, making air purifiers particularly beneficial for households with allergy sufferers or pets. 

Houseplants offer a natural way to enhance air quality. Certain plants, like the peace lily, spider plant, and snake plant, absorb toxins such as formaldehyde, benzene, and trichloroethylene from the air. These plants also produce oxygen, creating a fresher atmosphere indoors. Besides their air-cleansing properties, houseplants add beauty and a sense of tranquility to your home environment.

Consider placing air purifiers in high-traffic areas or rooms where family members spend the most time, such as the living room and bedrooms. As for houseplants, position them where they’ll thrive while having the greatest impact on air quality, like near windows or in the corners of rooms. Combining technology with nature, you can significantly improve the air you breathe, leading to a more inviting and clean indoor space.

Maintain Proper Ventilation

Proper ventilation is key in maintaining a healthy home environment, as it prevents the buildup of mold and odors. Without adequate airflow, moisture from cooking, showering, or even breathing can linger, leading to damp conditions that foster mold growth. Mold smells unpleasant and can trigger allergies or asthma attacks. Good ventilation helps control these issues by moving stale, damp air out and bringing fresh air in.

There are several easy ways to improve ventilation. Use exhaust fans in kitchens and bathrooms to quickly remove humidity and smells. Make it a habit to run these fans during and after showering or cooking. Opening windows regularly is another simple way to refresh indoor air. Even a few minutes a day can make a noticeable difference, especially on mild days when you can create a cross-breeze to circulate fresh air through the house.

Maintaining your HVAC system plays a crucial role in ventilation. Ensure your system is clean and working efficiently, as this supports better airflow throughout your home. Replace air filters regularly to keep the air moving smoothly.

Control Humidity Levels

Managing humidity is vital for maintaining good indoor air quality and overall comfort at home. When humidity levels rise above 50%, it can create a breeding ground for mold, dust mites, and other allergens. Excessive humidity can also cause unpleasant, musty odors and even damage your home’s structure over time. High humidity levels can worsen respiratory problems and affect those with asthma or allergies.

There are effective solutions for keeping humidity in check. Dehumidifiers are a practical choice, designed to extract moisture from the air and maintain optimal humidity levels. They’re especially useful in basements, laundry rooms, and other areas prone to dampness. It’s essential to choose the right size dehumidifier for the space it’s being used in to maximize efficiency.

Proper ventilation is another effective way to control humidity. Use exhaust fans in areas like bathrooms and kitchens to expel humid air. Opening windows briefly after a shower or during cooking can also help with ventilation. Make sure your home’s HVAC system is in good working order, as it can help regulate indoor humidity levels more consistently.

Regular Cleaning and Maintenance

Regular cleaning and maintenance are fundamental to reducing dust and allergens in your home. Dust and debris can accumulate quickly, affecting both air quality and respiratory health. Routine cleaning tasks, such as sweeping, vacuuming, and dusting, help minimize the presence of allergens. Use a vacuum cleaner with a HEPA filter to capture fine particles that are often missed by standard vacuums.

Focus on cleaning areas where dust collects, such as carpets, rugs, and upholstery. Don’t forget to wash curtains and bedding frequently. Regularly wiping down surfaces with a damp cloth can also prevent dust from accumulating.

Maintaining air ducts, filters, and HVAC systems ensures they operate effectively. Dirty filters and air ducts can circulate dust and allergens throughout your home. Inspect filters monthly and replace them every few months or as needed to keep airflow consistent and clean. Scheduling regular HVAC maintenance checks can prevent larger issues from developing and ensure your system is cleaning the air as it should.

Conclusion

Improving indoor air quality doesn’t require drastic measures; simple, consistent actions can make a significant impact. By using air purifiers and plants, maintaining proper ventilation, controlling humidity, and keeping up with regular cleaning and maintenance, you can ensure the air in your home is fresh and healthy. These strategies enhance comfort and well-being, making your home a safer place to breathe.

Ready to transform your indoor air quality? My Jockey is here to help. Our team is committed to making your air purer and your home more comfortable than ever. Whether you need expert advice or professional air purification service, we’ve got you covered. Contact us today to breathe easy and live well all year round.

How to Keep Your Air Conditioner Running Efficiently

Air Conditioner

Keeping your air conditioner in top shape is crucial, especially during the hot summer months. When your AC runs efficiently, it keeps your home cool and comfortable while saving you money on energy bills. By understanding how to properly maintain your AC unit, you can extend its lifespan and ensure that it works when you need it most.

Understanding the Importance of Regular Maintenance

Regular maintenance keeps your air conditioner performing at its best. A well-maintained AC unit runs more efficiently, resulting in lower energy costs and a longer lifespan. By taking routine care of your system, you ensure that it can handle the demands of keeping your home cool.

Several common maintenance tasks can significantly impact your AC’s performance. First, inspecting the system regularly is crucial. A thorough check can help identify any wear and tear, ensuring that any minor issues are addressed before they escalate. It’s always a good idea to have these inspections done at least once a year, preferably before the cooling season begins.

Another essential task is checking the refrigerant levels. The refrigerant is the agent that cools the air in your AC system. If the levels are too low, the unit has to work harder to achieve the desired temperature, which can lead to increased energy consumption and wear on the system. Make sure that the refrigerant levels are monitored and topped up as needed.

Cleaning components is also crucial. Dirt and debris can accumulate in various parts of the air conditioner, such as coils and filters, reducing efficiency. Regular cleaning ensures that airflow is unhindered, improving cooling performance.

Optimize Airflow and Ventilation

Optimizing airflow is a simple yet effective way to enhance your air conditioner’s efficiency. Proper airflow ensures your system doesn’t have to work harder than it needs to cool your home. More efficient operation saves energy and money and prolongs the life of your AC unit.

One key step in optimizing airflow is keeping vents open and ensuring they are not obstructed by furniture or drapes. When vents are blocked, the cool air doesn’t circulate throughout the room, causing the AC to run longer and consume more energy. Rearranging your furniture to keep vents clear can have a noticeable impact on cooling efficiency.

It is also important to keep the outdoor unit clear of debris. The outside unit needs space to breathe, releasing heat absorbed from inside your home. Grass, leaves, and other debris can obstruct this process, making your AC less efficient. Regularly checking and clearing the area around the outdoor unit allows it to work as intended.

Smart Thermostat Use for Energy Efficiency

Smart thermostats are a game changer when it comes to maintaining an efficient cooling system. These innovative devices help keep your home comfortable while significantly reducing energy consumption. By learning how to use them effectively, you can enhance your AC’s performance.

Smart thermostats allow you to set precise temperatures and create custom schedules that align with your lifestyle. For instance, you can program your thermostat to lower cooling when you’re not home and increase it before you return, ensuring comfort without wasting energy. This approach not only saves money but also extends your air conditioner’s lifespan.

For optimal performance, consider using features like geofencing and learning capabilities. Geofencing detects when you leave or return home, adjusting temperatures automatically. Meanwhile, learning thermostats adapt to your schedule over time, making adjustments effortless.

Identifying Common Problems Early

Spotting issues with your air conditioner early can save you time and money. Knowing the signs of common problems allows you to take action before they become major issues. This proactive approach keeps your system in top shape and prevents costly repairs.

Some common signs that your air conditioner may need attention include unusual noises, leaks, and inconsistent cooling. Strange sounds like grinding or banging can indicate mechanical issues. Leaks, especially refrigerant leaks, can reduce cooling efficiency and harm the environment. If your AC is cooling some rooms more than others, it’s a sign of poor air distribution or potential blockages.

To troubleshoot minor issues, follow these steps:

– Check Filters: A clogged filter can reduce airflow and cause uneven cooling.

– Inspect Thermostat Settings: Ensure the settings are correct and that the thermostat is functioning properly.

– Look for Obstructions: Make sure nothing is blocking the vents or outdoor unit.

If these steps don’t solve the problem, it’s best to contact a professional. Regular maintenance, combined with professional inspections, ensures your AC stays reliable and effective throughout the season.

Conclusion

A well-maintained AC provides consistent comfort, saves energy, and extends the life of the unit. Being proactive with care improves performance and can prevent discomfort during peak seasons. Not to mention, taking these steps can significantly save on energy costs, making your home more eco-friendly and economical.

For residents in Saratoga Springs and The Capital Region, My Jockey is ready to assist with all HVAC and plumbing needs. From routine AC preventive maintenance to troubleshooting, our experienced team ensures your home stays comfortable year-round. Contact us today and experience professional service that keeps your air conditioner running at its best.

How Regular HVAC Tune-Ups Improve Efficiency and Longevity

HVAC Tune-Ups

Keeping your HVAC system in top shape is key to staying comfortable throughout the year. Regular tune-ups help ensure your system works efficiently and smoothly, avoiding unexpected breakdowns. Just like a car or bicycle, HVAC systems need routine attention to run well and last longer.

Enhancing Energy Efficiency

Improving your HVAC system’s energy efficiency can significantly reduce your home energy bills. Regular HVAC tune-ups play a key role in enhancing this efficiency. When you schedule routine checks, your system gets the attention it needs to function optimally. A well-tuned system uses less energy because it doesn’t have to work as hard to keep your home comfortable.

An essential part of boosting efficiency is maintaining clean filters. Dirty filters force the HVAC system to consume more energy as it struggles to push air through the dust and debris. 

Additionally, proper calibration of your HVAC system is vital. If your thermostat is out of sync, the system may heat or cool your home more than necessary, wasting energy. During a tune-up, technicians will calibrate your thermostat and other components to make sure everything operates as intended.

Extending Equipment Lifespan

Routine maintenance is the key to extending the life of your HVAC equipment. Regular tune-ups and inspections keep the system running smoothly, preventing unnecessary wear and tear. This proactive approach means fewer costly repairs and replacements down the line.

One of the main benefits of regular maintenance is the prevention of damage that occurs from neglect. Proper lubrication of moving parts, for instance, keeps the components running effortlessly, avoiding grinding or friction that can lead to breakdowns. Consistent cleaning of the system ensures all parts are free from dust and debris, reducing the strain on motors and other mechanisms.

By integrating these tasks into a regular maintenance routine, you contribute to a longer-lasting, more reliable system. Caring for your HVAC setup this way not only avoids frequent breakdowns but also ensures you get the most out of your investment in comfort and efficiency.

Improving Indoor Air Quality

Enhancing indoor air quality is essential for a healthy and comfortable living environment. Regular HVAC tune-ups play a significant role in achieving this by ensuring that your home’s air circulation system works efficiently. Clean ducts and optimal humidity levels are key factors in maintaining good air quality.

When your HVAC system undergoes routine maintenance, technicians remove dust and debris from the ducts, preventing these particles from circulating in your home. Clean ducts mean the air you breathe is fresher and less likely to contain dust or allergens.

Proper humidity levels also contribute to better air quality. An HVAC system that’s well-maintained balances moisture levels, reducing the risk of mold growth and unpleasant musty odors. This balance keeps the environment comfortable and healthy, especially during extreme weather conditions.

Another crucial aspect is changing air filters regularly. Filters trap dust, allergens, and pollutants, keeping them from re-entering your living space. Replacing filters every 1-3 months ensures they effectively capture these particles, maintaining overall air quality.

Preventing Costly Breakdowns

Regular maintenance of your HVAC system is essential in preventing unexpected and costly breakdowns. Early detection of issues during routine inspections helps identify and resolve potential problems before they escalate. This proactive approach significantly reduces the risk of expensive repairs or replacements.

There are several common HVAC issues that can be avoided with regular checks:

1. Refrigerant Leaks: Thermally inefficient systems waste energy and increase bills. Regular inspections ensure refrigerant levels are correct and detect leaks early.

2. Faulty Thermostats: Malfunctioning thermostats can make systems run inefficiently, leading to discomfort and higher energy use. Calibration and checks keep them functioning well.

3. Dirty Coils: Air conditioner coils can collect dirt over time, reducing their ability to absorb heat. Cleaning coils during routine maintenance improves efficiency and prevents overheating.

4. Worn Belts and Bearings: Regular lubrication and check-ups on belts and bearings prevent wear that could lead to complete system failure.

Focusing on these areas will avoid unnecessary expenses and ensure your HVAC system runs smoothly throughout its lifespan. Regular maintenance checks will also give you confidence that your system will perform reliably when you need it most.

Conclusion

Maintaining an HVAC system ensures it operates efficiently and lasts longer. From enhancing energy efficiency and extending equipment lifespan to improving indoor air quality and preventing costly breakdowns, regular maintenance proves invaluable. Simple actions like changing filters, cleaning components, and performing routine checks make a big difference. Keeping your system in top shape not only provides comfort but also safeguards your home’s air quality and reduces energy bills.

Whether it’s for regular HVAC tune-ups or unexpected repairs, access to a trusted partner for your HVAC needs is crucial. Enjoy peace of mind knowing our HVAC technicians can handle your system with care, ensuring optimal performance year-round. My Jockey is dedicated to keeping your HVAC system in peak condition. Reach out to us today and discover how we can help enhance your home’s comfort and efficiency.